PS详解人像精修照片的技巧和流程
平面设计 发布日期:2026/6/26 浏览次数:1
正在浏览:PS详解人像精修照片的技巧和流程
版权申明:本文原创作者“梦间无意识”,感谢“梦间无意识”的原创经验分享!
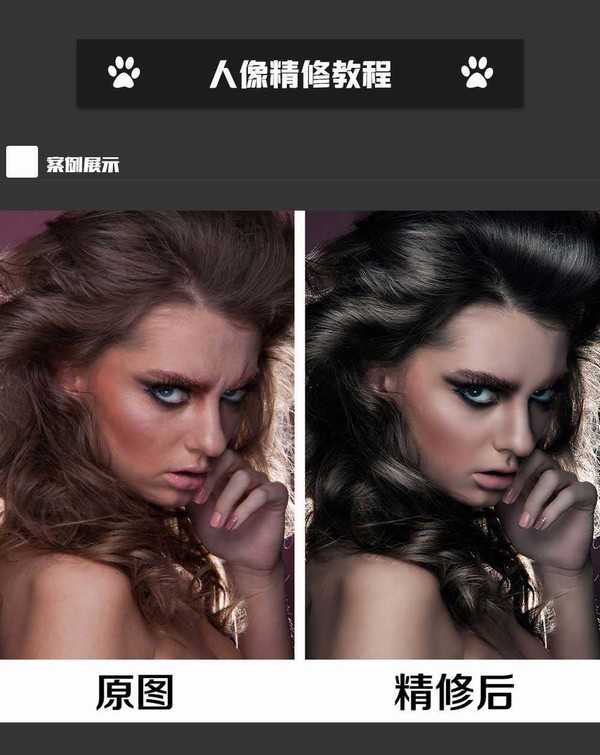
Photoshop人像精修作为一个课题算是比较老套了,但是对于学习照片处理的朋友来说,人像精修又是一个永远不会过时的话题,不同的照片、不同的皮肤修饰都在给我们提出新的问题。接下来就以一张外国美女特写照片为例给大家介绍人像精修的注意细节和流程,非常实用,感兴趣的朋友一起去看看吧!
Photoshop人像精修教程:
效果对比图:
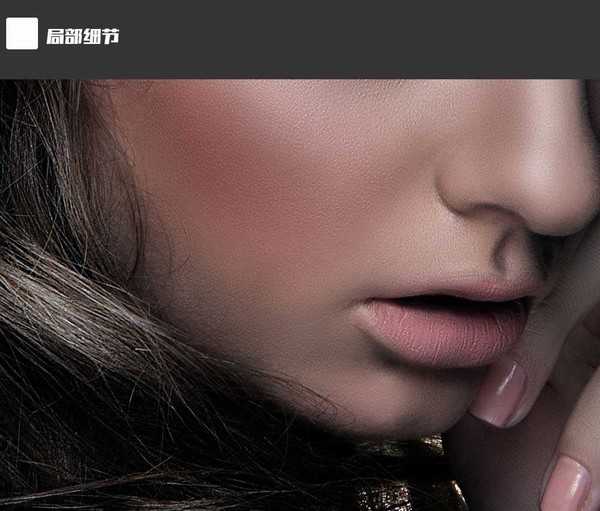
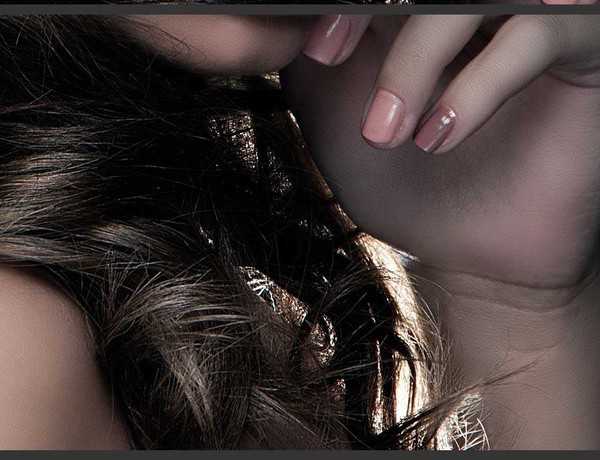
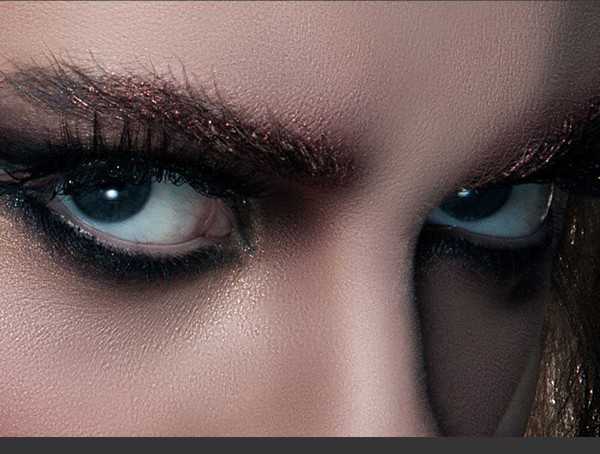
局部细节:
主要过程:
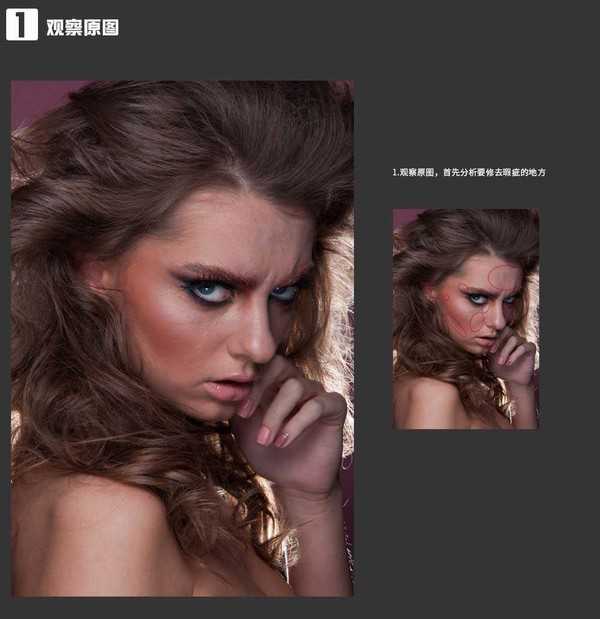
1.观察原图:
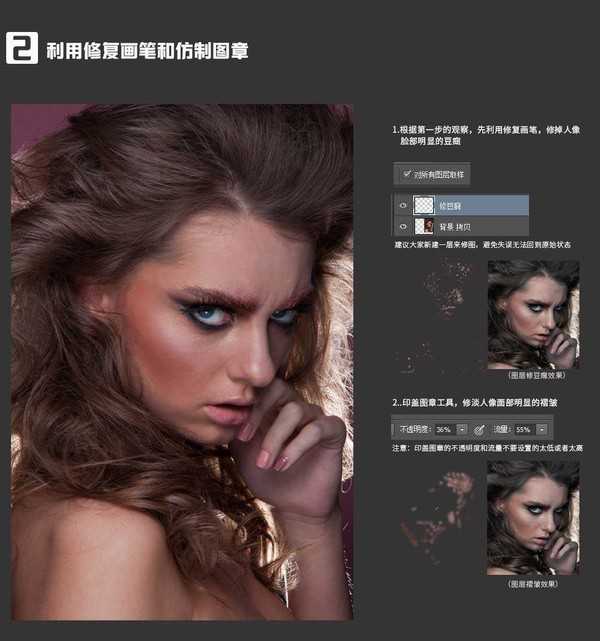
2.利用修复画笔和仿制图章:
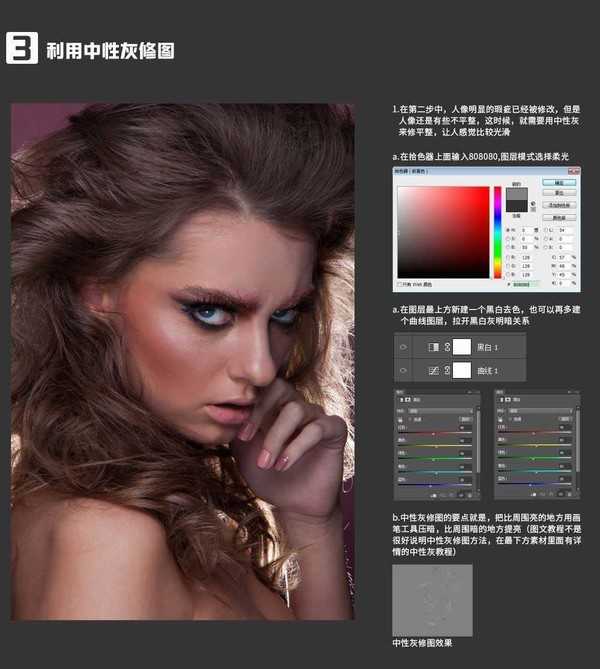
3.利用中性灰修图:
上一页12 下一页 阅读全文