PS怎么把照片制作成漂亮的水彩画效果
平面设计 发布日期:2026/6/28 浏览次数:1
正在浏览:PS怎么把照片制作成漂亮的水彩画效果
下面的教程将手把手教大家ps里怎样把照片处理成水彩画效果?无论是人像照片,还是风景照片,本文的方法都适用,而且打造的水彩画效果非常的漂亮,好了,让我开始学习吧!
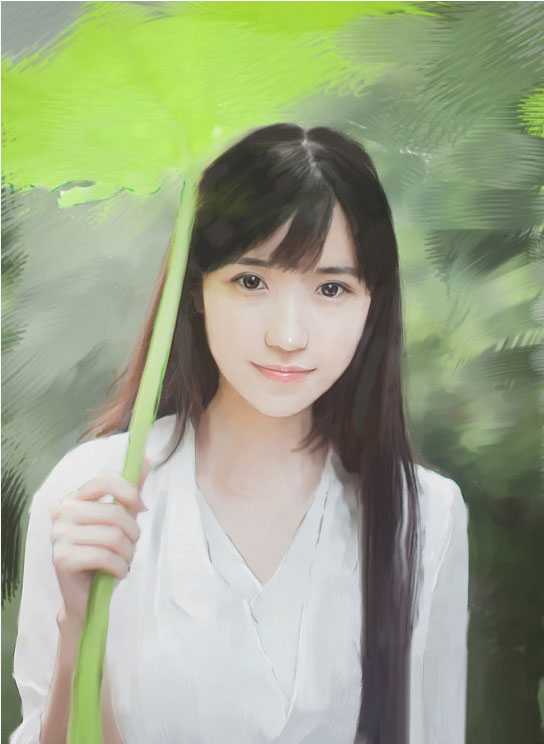
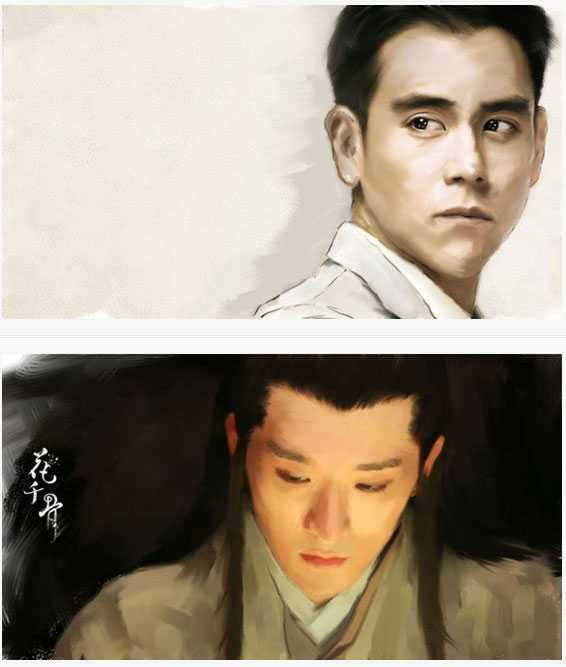
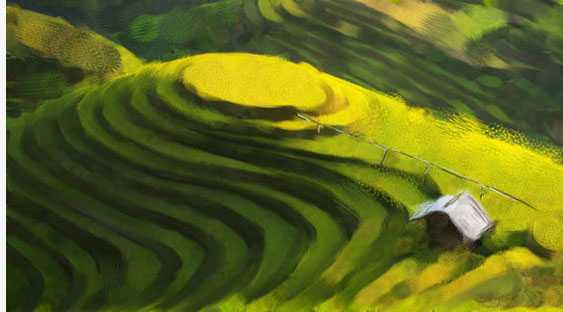
效果图:
主要过程:
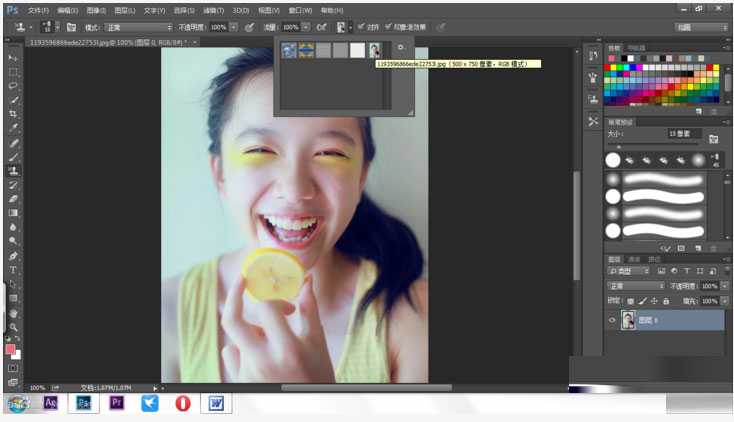
步骤1
打开一张人像照片(选择光感较强,易于塑造明暗,同时最好颜值较高,增加绘画兴趣)
右上角模式选择为绘画模式。
在这里选了一位清凉干爽的妹子~

步骤2
解锁当前图层(原本默认的图层右侧有个小小的锁的样子)
并定义当前图层为新图案。
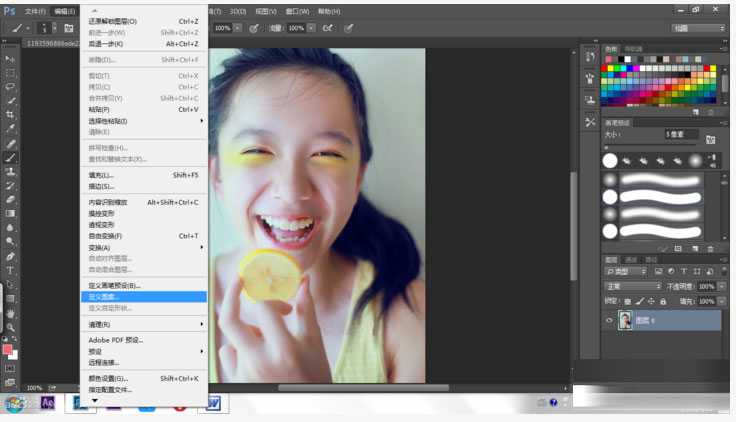
步骤3
点击图案图章工具,在生成的图案选择栏里找到生成的新定义图案。
上一页12 3 下一页 阅读全文
上一篇:ps破褶的老照片怎么修复?