教你用PS打造超炫的商业色彩照片
平面设计 发布日期:2026/3/1 浏览次数:1
正在浏览:教你用PS打造超炫的商业色彩照片
这篇教程教的PS照片处理学习者使用PS打造超炫商业色彩照片,是以车模为实例,教程调节出来的色调非常漂亮,调色的难度一般。推荐过来和的朋友们一起分享学习了,希望大家喜欢!我们先来看看最终的效果图吧:
效果图:

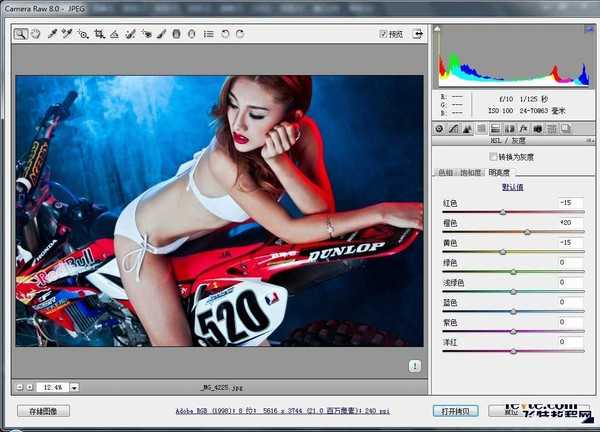
原片:

调色主要有两部分,Camera Raw和PS结合来完成后期调色。喜欢的同学可以学习一下。下面是具体的调色修图步骤:


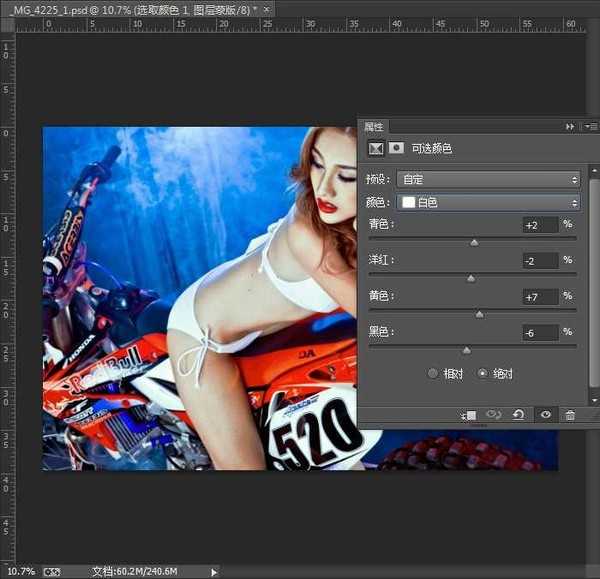
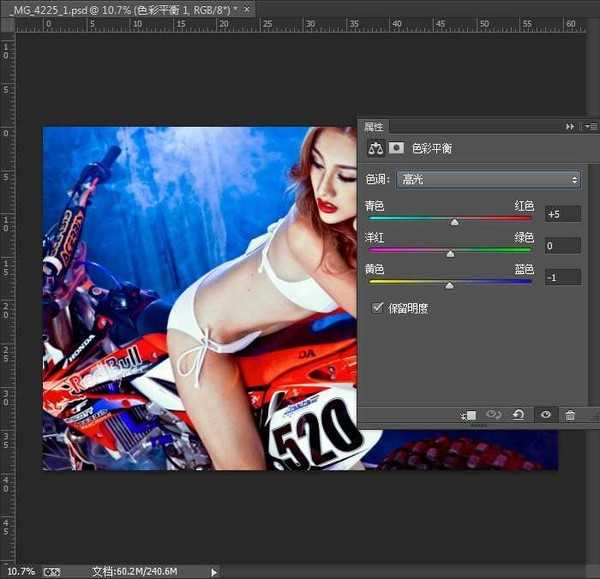
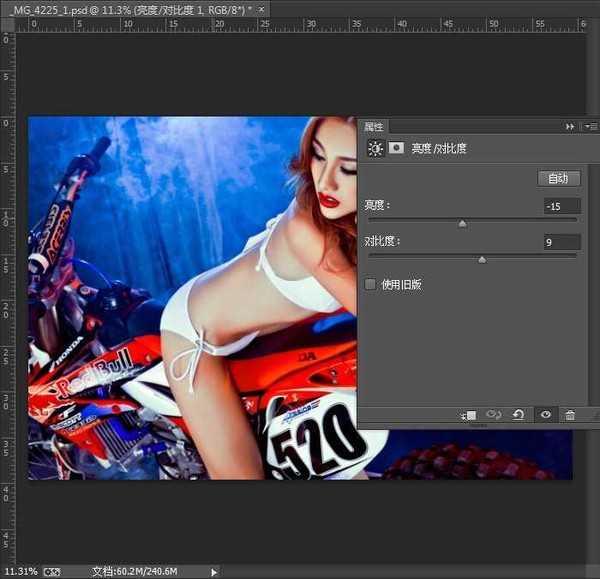
转入PS,调整如下:


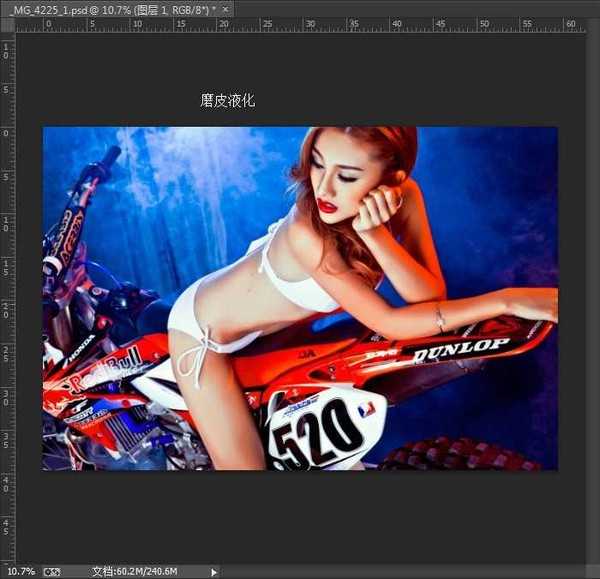
磨皮液化。
最后高反差锐化,图层模式用:线性光。
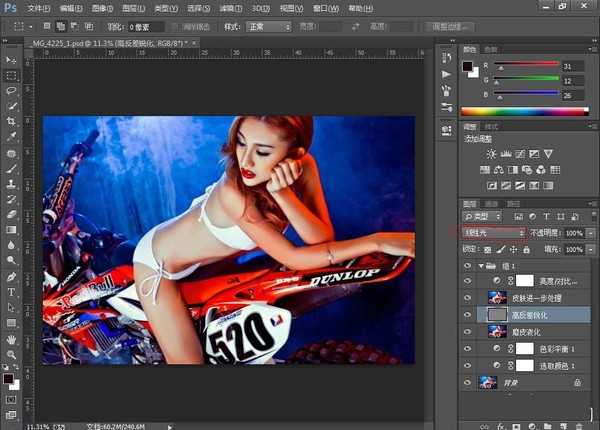
最终效果!
以上就是教大家利用PS打造超炫商业色彩照片的方法,大家是不是已经学会了!希望这篇PS教程大家有一定的帮助!