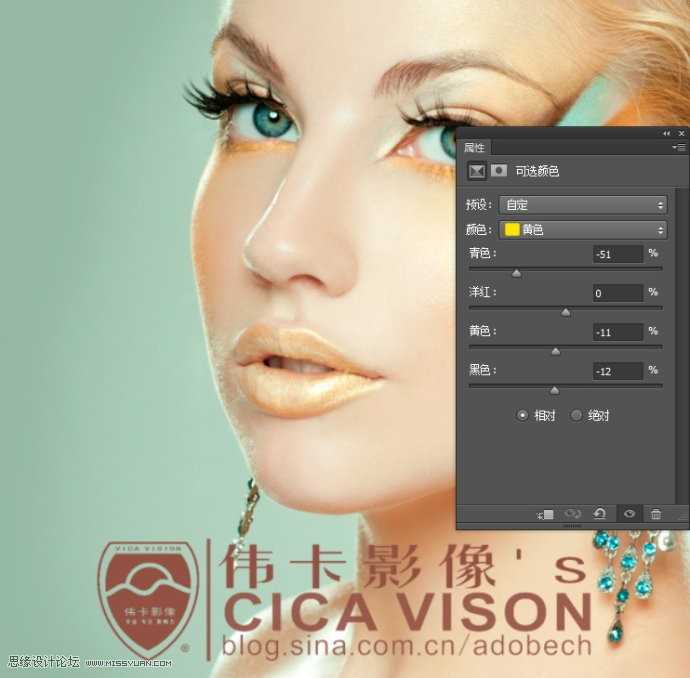
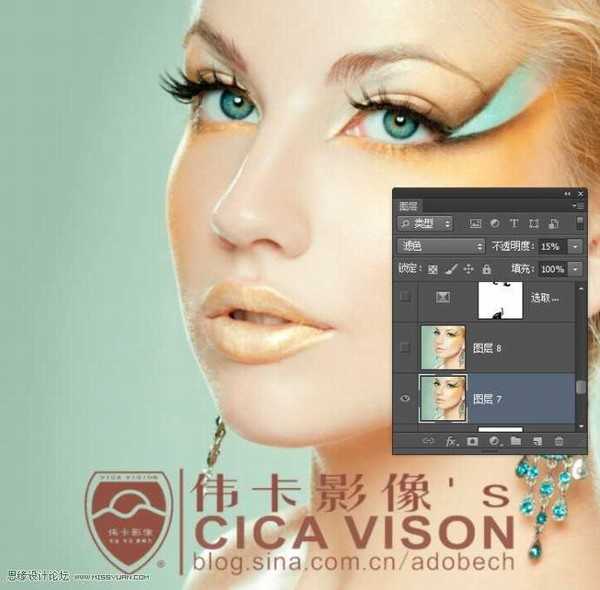
Photoshop为美女头像后期彩妆精修教程
平面设计 发布日期:2026/6/29 浏览次数:1
正在浏览:Photoshop为美女头像后期彩妆精修教程
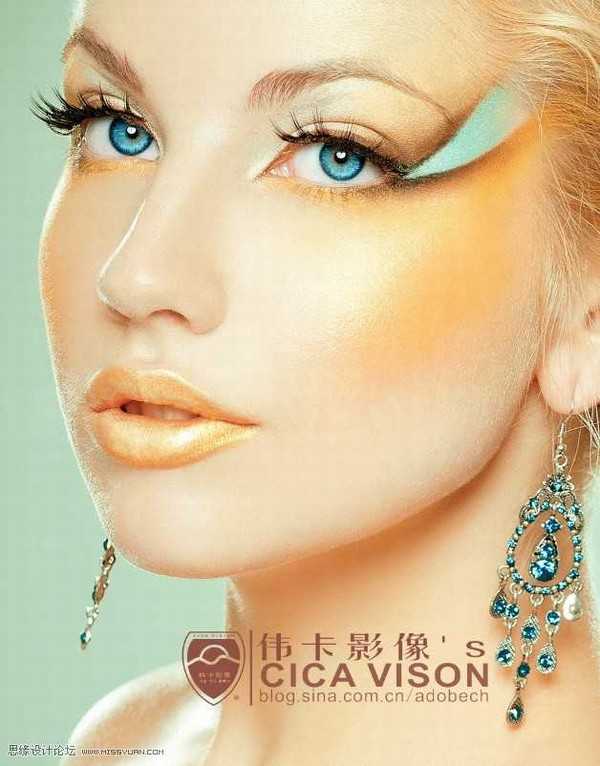
最终效果图,如下: