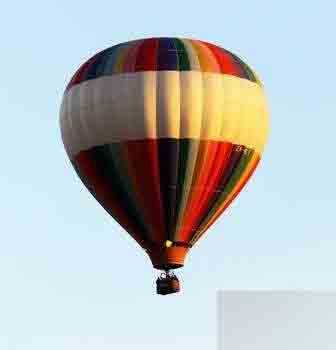
PS绘制飘在空中的热气球
平面设计 发布日期:2026/3/5 浏览次数:1
正在浏览:PS绘制飘在空中的热气球
今天为大家分享PS绘制飘在空中的热气球方法,绘制出来的热气球非常漂亮,方法很简单,喜欢的朋友可以参考一下哦,希望大家能开发一些新的东西
步骤
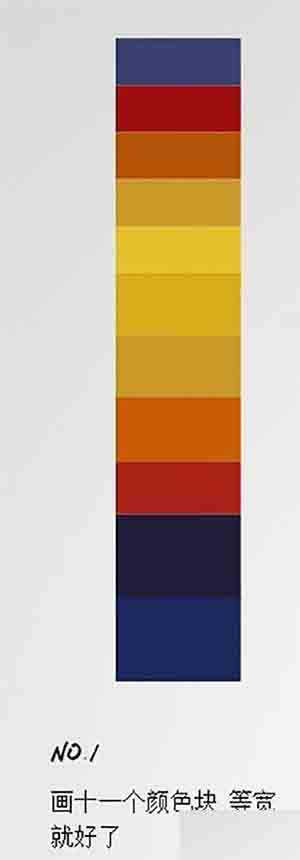
1、画十一个颜色块,等宽就可以
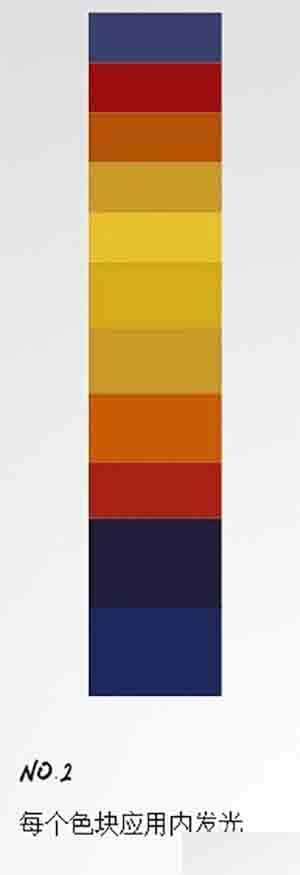
2、设置每个色块应用内发光
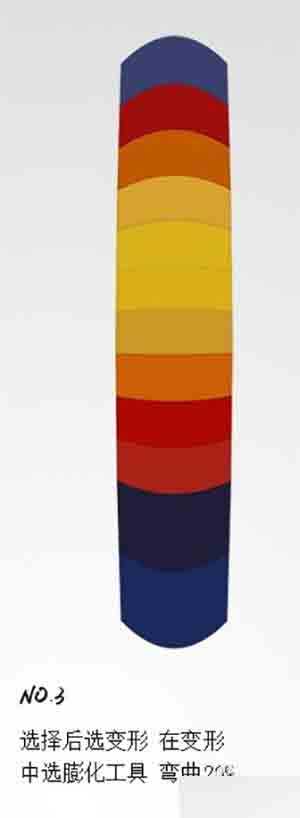
3、选择后变形,膨化后,
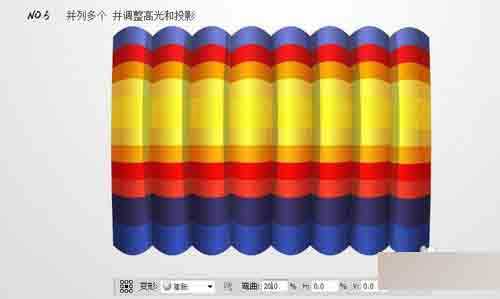
在变形工具中,选择弯曲20%
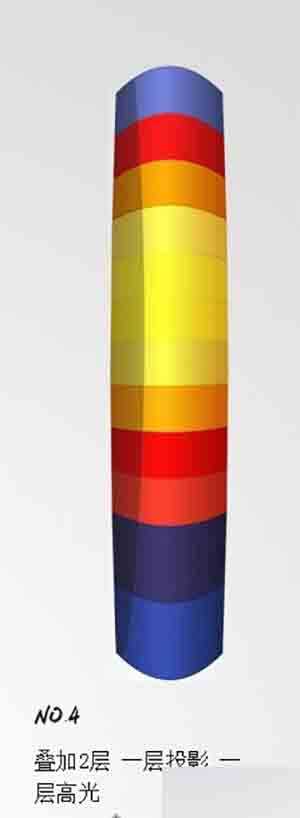
1、叠加两层,一层投影
另一层高光
2、并列图片
并调整图片和高光
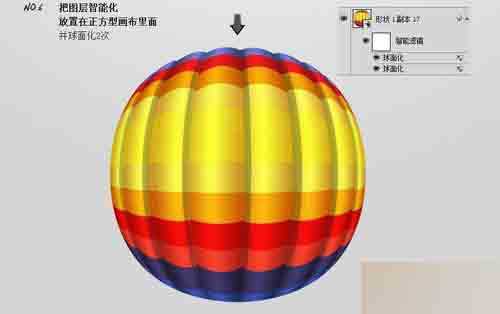
3、将图片智能化
放置在正方形画布内
并球面化两次
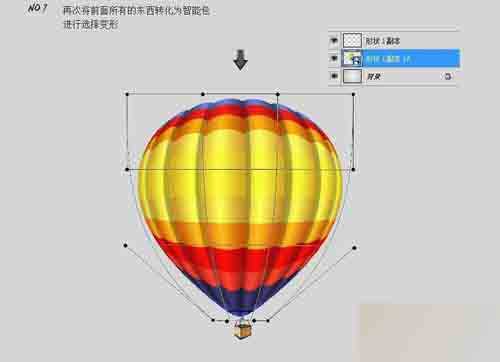
4、将前面所有东西转化成智能包
并再次变形
完成
注意事项
弯曲程度不要高于30%
以上就是PS绘制飘在空中的热气球方法介绍,操作很简单的,大家学会了吗?不会的朋友可以参考本文,希望能对大家有所帮助!
上一篇:PS制作梦幻的灯光光斑背景图
下一篇:PS制作小清新风格的情书