photoshop制作漂亮的非主流效果
平面设计 发布日期:2026/3/5 浏览次数:1
正在浏览:photoshop制作漂亮的非主流效果
今天和大家分享一下如何用photoshop制作非主流效果,方法很简单的,喜欢的朋友快快来学习吧。

方法/步骤
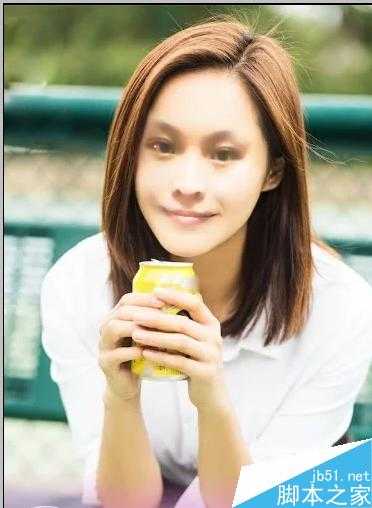
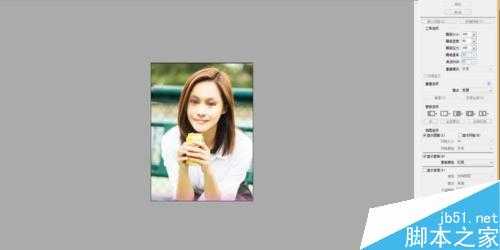
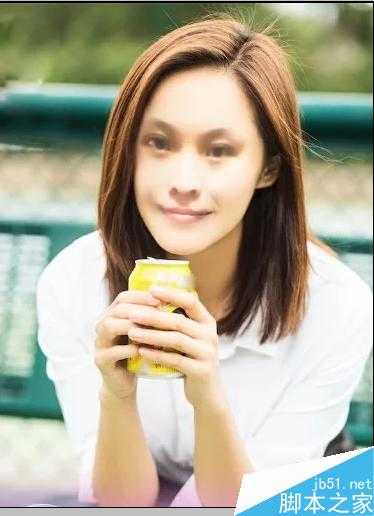
首先,打开素材图片。
选择“滤镜”-“液化”打开液化编辑窗口。
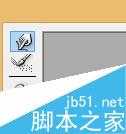
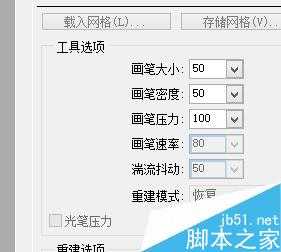
选择如图所示工具。然后画笔大小调整为100。
先从右边向左推人物脸颊,然后再从左向右推。
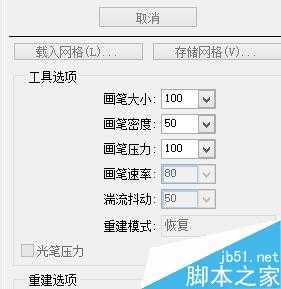

接着画笔大小调整为50,在眼睛上点击,放大人物的双眼,确定。
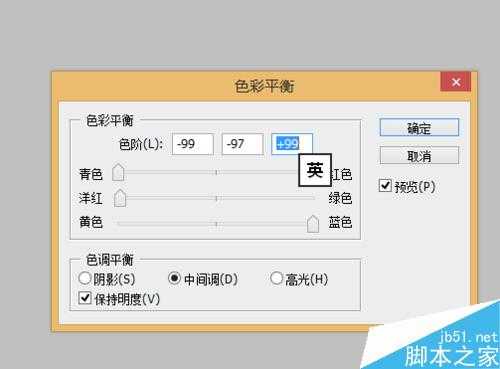
“图像”-“调整”-“色彩平衡“,设置如下参数。确定后,效果如图所示。
“文件”——“保存”,把文件保存。
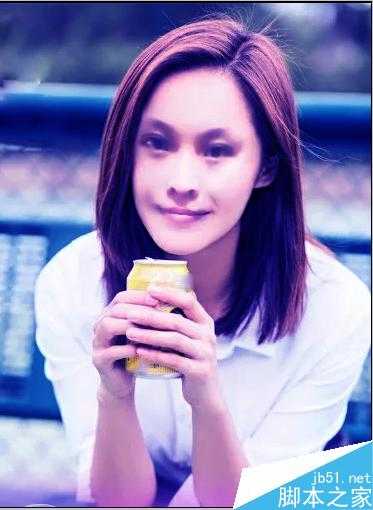
成品图。

以上就是photoshop制作漂亮的非主流效果方法介绍,操作很简单的,大家学会了吗?希望能对大家有所帮助!
下一篇:PS制作一个简单的商标