Photoshop制作简易的搜索放大镜图标
平面设计 发布日期:2026/3/5 浏览次数:1
正在浏览:Photoshop制作简易的搜索放大镜图标
今天为大家分享Photoshop制作简易的搜索放大镜图标方法,教程很不错,很值得大家学习,推荐过来,一起来学习吧!
效果图

方法/步骤
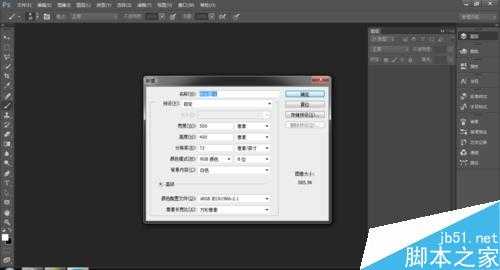
1、打开ps 新建一个文档,大小自定,单击确定按钮
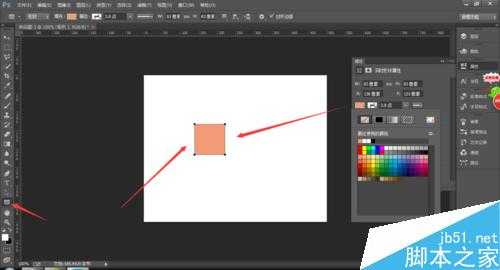
2、用矩形工具在文档中按住shift键画一个正的矩形 颜色找一个自己喜欢的
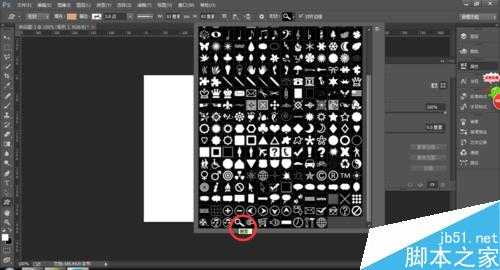
3、在自定义形状工具中 找到搜索的形状
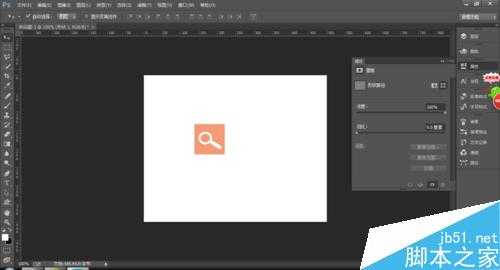
4、在文档中拖出一个搜索的形状 颜色选择白色 当然也可以选择你自己喜欢的颜色
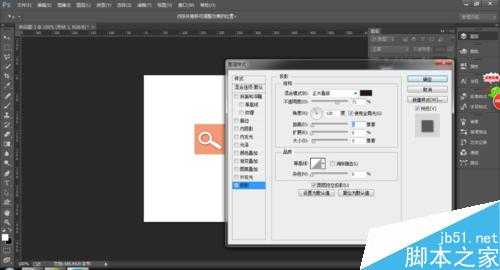
5、给形状1的图层加投影效果

6、最终效果

以上就是Photoshop制作简易的搜索放大镜图标方法介绍,操作很简单的,大家学会了吗?希望这篇文章能对大家有所帮助!