Photoshop制作温馨的圣诞童装网页横幅
平面设计 发布日期:2026/3/5 浏览次数:1
正在浏览:Photoshop制作温馨的圣诞童装网页横幅
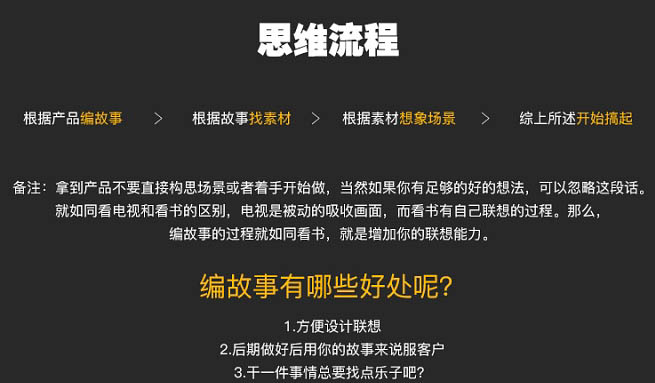
拿到产品不要直接构思场景或者着手开始做,当然如果你有足够的好的想法,可以忽略这段话。就如同看电视和看书的区别,电视就是被动的吸收画面,而看书有自己联想的过程。那么,编故事的过程就如同看书,就是增加你的联想能力。
最终效果

思维流程:
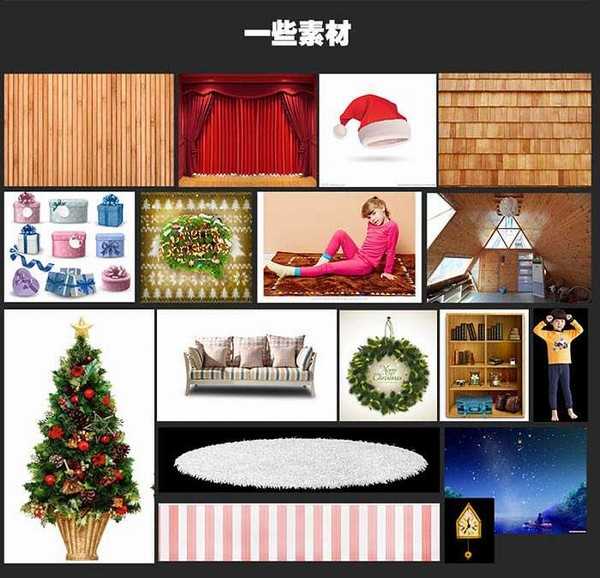
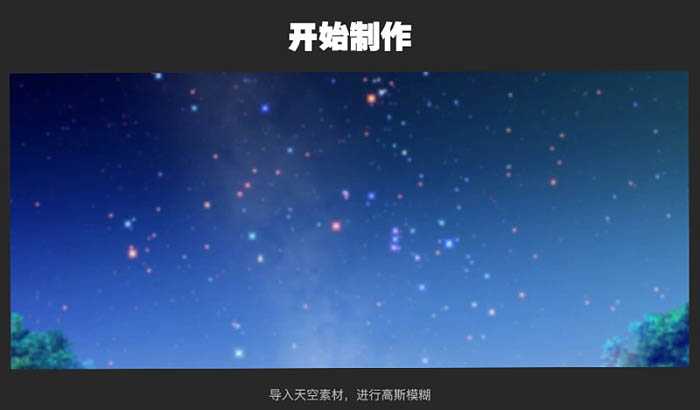
1、导入天空素材,进行高斯模糊。

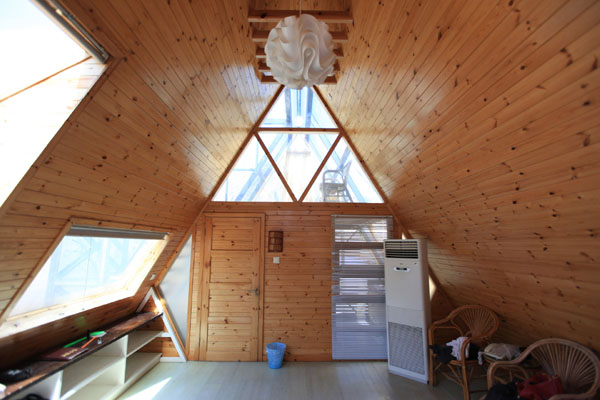
2、导入木屋素材,左边的窗户怎么P掉呢?这个问题其实很简单,就是把右边的房顶复制过去。然后把一些不需要的东西用钢笔都扫掉。

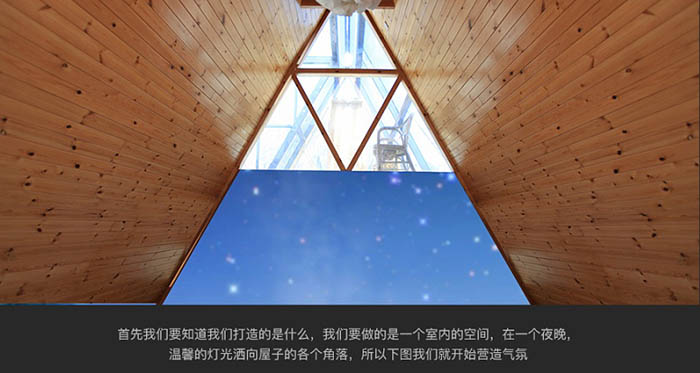
3、开始营造气氛。
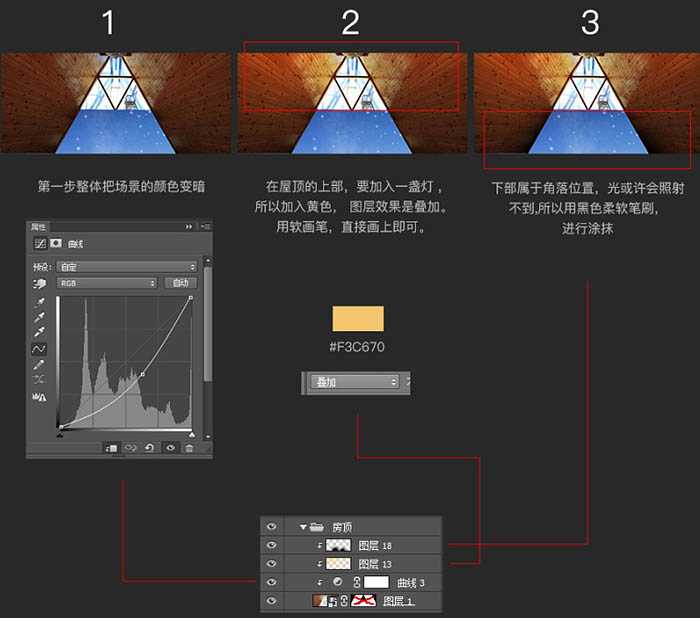
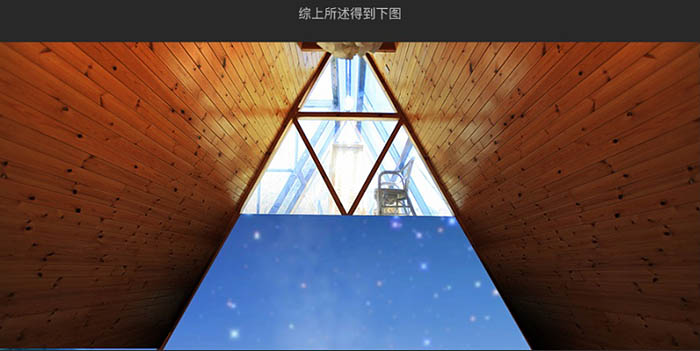
4、把场景的颜色变暗。在屋顶的上部,要加入一盏灯。所以加入黄色,图层效果是叠加,用软画笔,直接画上即可。下部属于角落位置,光或许会照射不到,所以用黑色柔软笔刷进行涂抹。
5、然后就是地板的打造。首先素材的地板的规格太小,我们要进行素材改造。
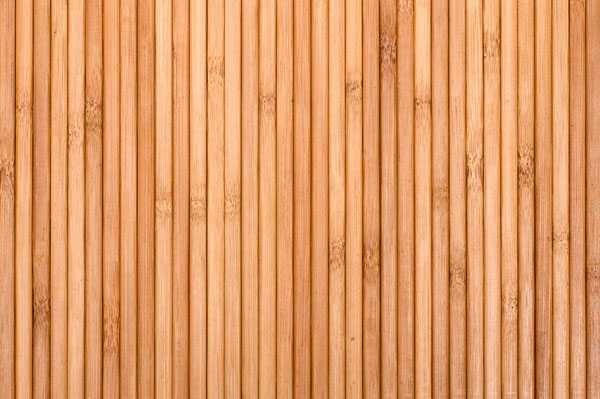

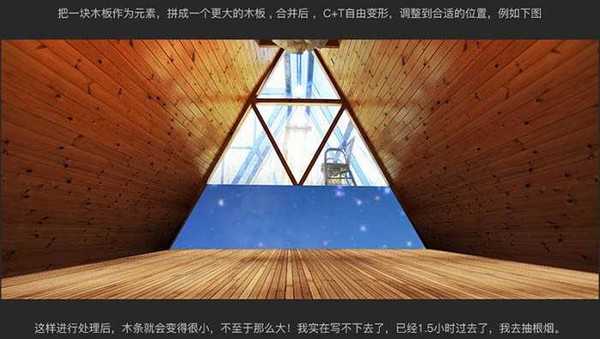
6、把一块木板作为元素,拼成一个更大的木板,合并后,Ctrl + T 自由变换,调整到合适的位置,如下图。
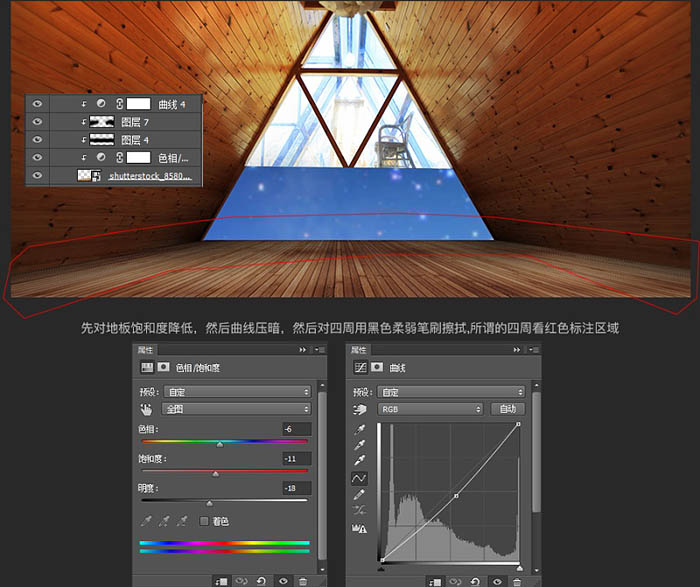
7、先把地板饱和度降低,然后曲线压暗,然后对四周用黑色柔边画笔擦拭,所谓的四周看红色标注区域。
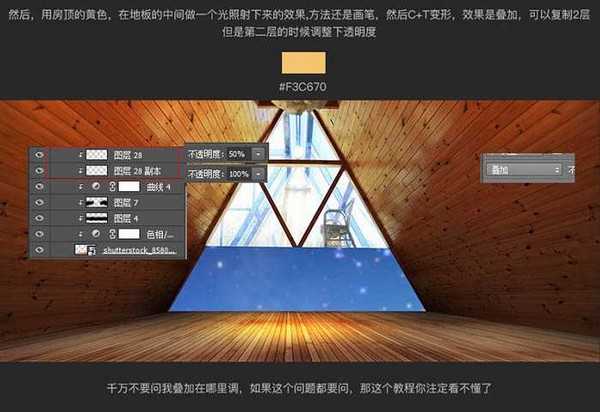
8、然后,用房顶的黄色,在地板的中间做一个光照射下来的效果。方法还是画笔,然后Ctrl + T 变形,效果是叠加,可以复制2层,第二层的时候调整下透明度。
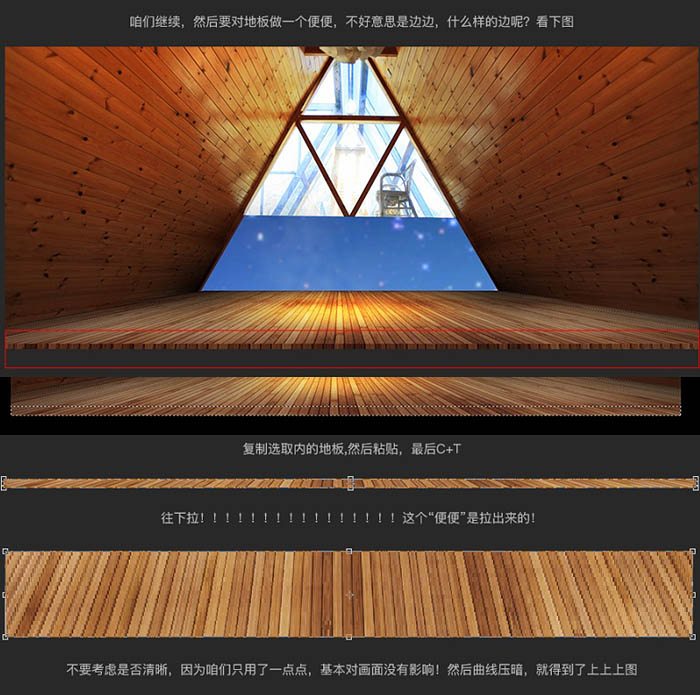
9、咱们继续,然后要对地板做一个边,如下图。
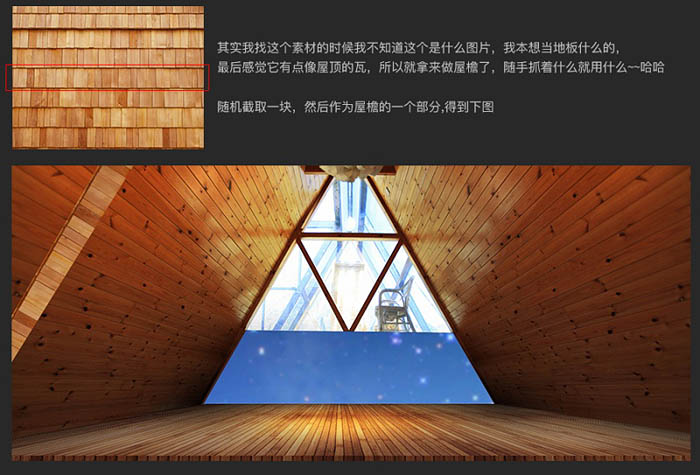
10、制作屋檐。

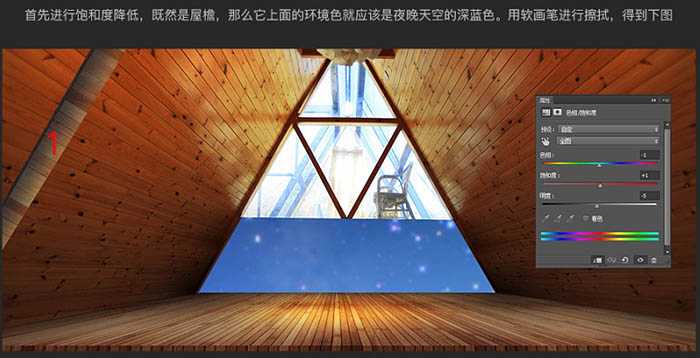
11、降低屋檐饱和度,然后用软画笔涂上暗蓝色。
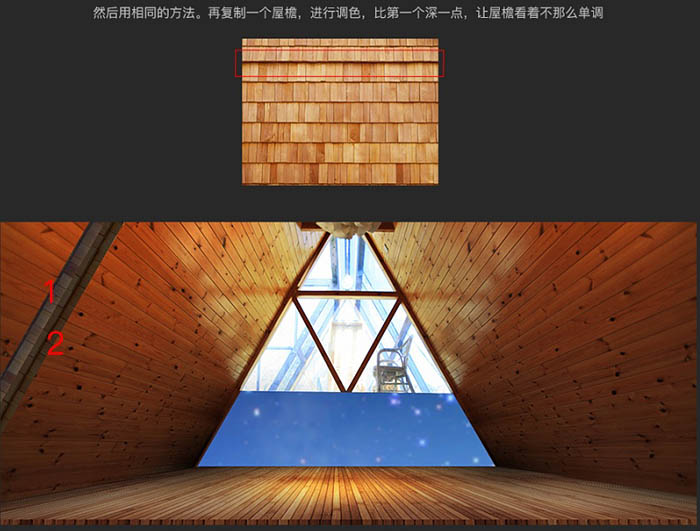
12、同样的方法,再复制一个屋檐,进行调色,比第一个深一点,让屋檐看着不那么单调。
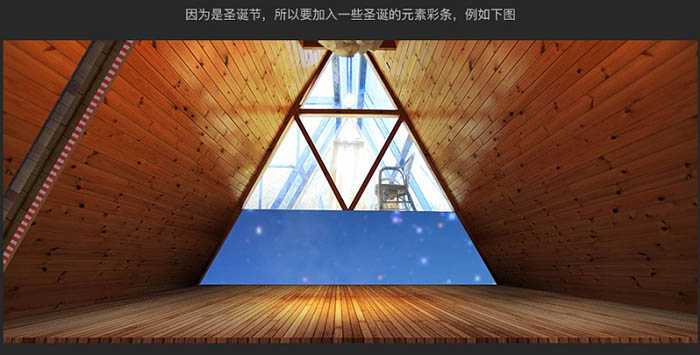
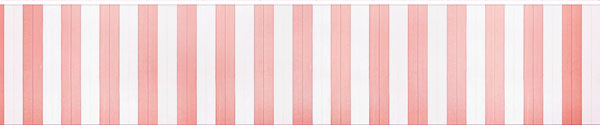
13、因为是圣诞节,所以要加入一些圣诞的元素彩条,如下图。
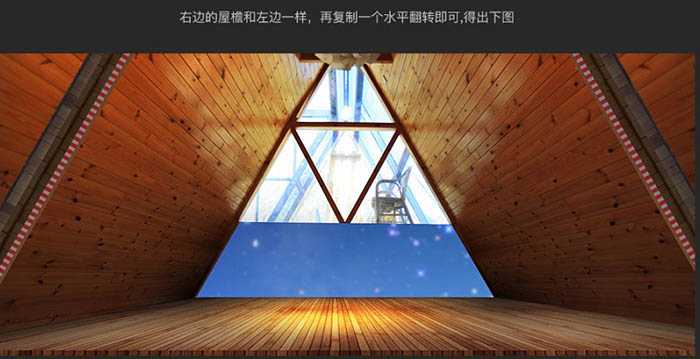
14、右边的屋檐和左边一样,再复制一个水平翻转即可。
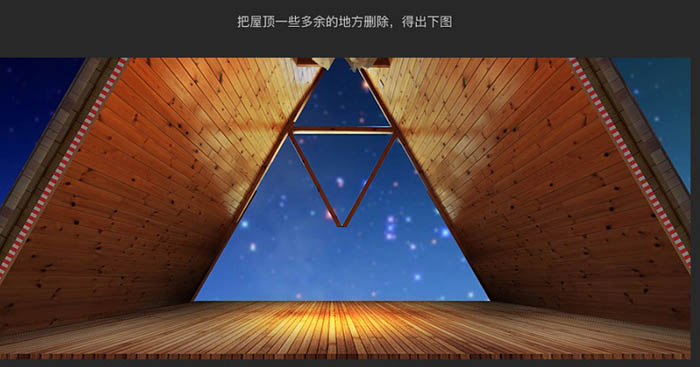
15、把屋顶一些多余的地方删除,得出下图。
16、加入后面的墙壁,导入素材墙壁,进行饱和度降低,曲线压暗。墙壁的四周黑色画笔涂抹,进行暗色调处理。
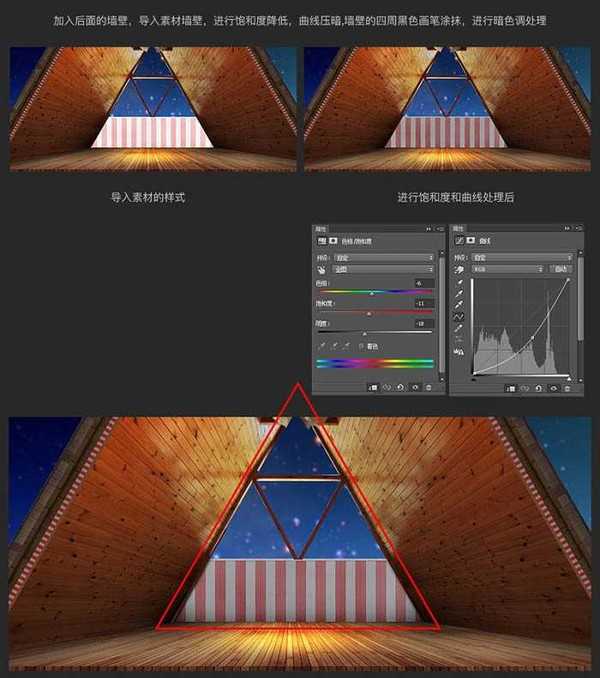
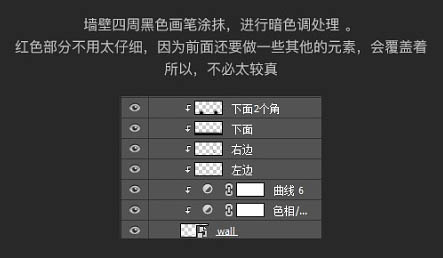
17、墙壁四周黑色画笔涂抹,进行暗色调处理。红色部分不用太仔细,因为前面还要做一些其他的元素,会覆盖。
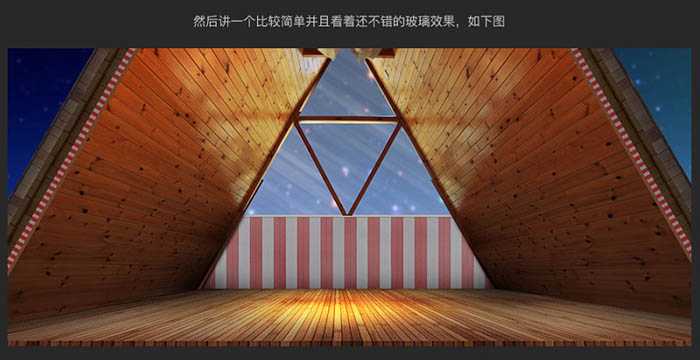
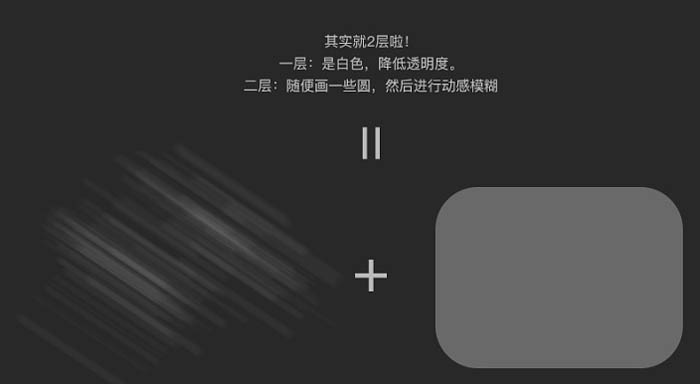
18、然后制作比较简单,并且看着还不错的玻璃效果,如下图。
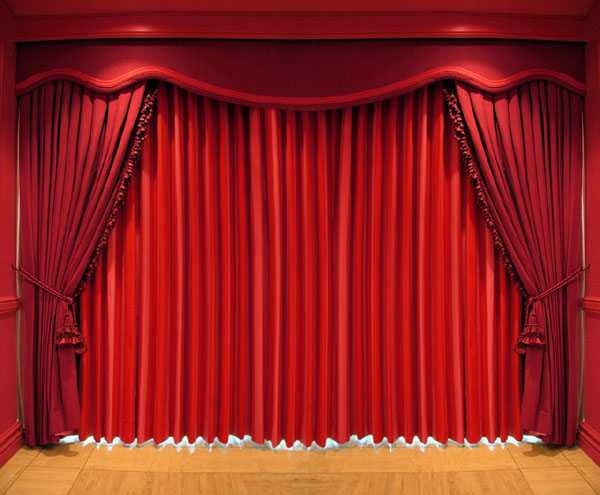
19、导入窗帘素材,同样只用做一边的效果,然后复制右边的水平翻转过去。
上一页12 下一页 阅读全文
最终效果
思维流程:
1、导入天空素材,进行高斯模糊。
2、导入木屋素材,左边的窗户怎么P掉呢?这个问题其实很简单,就是把右边的房顶复制过去。然后把一些不需要的东西用钢笔都扫掉。
3、开始营造气氛。
4、把场景的颜色变暗。在屋顶的上部,要加入一盏灯。所以加入黄色,图层效果是叠加,用软画笔,直接画上即可。下部属于角落位置,光或许会照射不到,所以用黑色柔软笔刷进行涂抹。
5、然后就是地板的打造。首先素材的地板的规格太小,我们要进行素材改造。
6、把一块木板作为元素,拼成一个更大的木板,合并后,Ctrl + T 自由变换,调整到合适的位置,如下图。
7、先把地板饱和度降低,然后曲线压暗,然后对四周用黑色柔边画笔擦拭,所谓的四周看红色标注区域。
8、然后,用房顶的黄色,在地板的中间做一个光照射下来的效果。方法还是画笔,然后Ctrl + T 变形,效果是叠加,可以复制2层,第二层的时候调整下透明度。
9、咱们继续,然后要对地板做一个边,如下图。
10、制作屋檐。
11、降低屋檐饱和度,然后用软画笔涂上暗蓝色。
12、同样的方法,再复制一个屋檐,进行调色,比第一个深一点,让屋檐看着不那么单调。
13、因为是圣诞节,所以要加入一些圣诞的元素彩条,如下图。
14、右边的屋檐和左边一样,再复制一个水平翻转即可。
15、把屋顶一些多余的地方删除,得出下图。
16、加入后面的墙壁,导入素材墙壁,进行饱和度降低,曲线压暗。墙壁的四周黑色画笔涂抹,进行暗色调处理。
17、墙壁四周黑色画笔涂抹,进行暗色调处理。红色部分不用太仔细,因为前面还要做一些其他的元素,会覆盖。
18、然后制作比较简单,并且看着还不错的玻璃效果,如下图。
19、导入窗帘素材,同样只用做一边的效果,然后复制右边的水平翻转过去。
上一页12 下一页 阅读全文