Photoshop制作梦幻的金色花纹
平面设计 发布日期:2026/3/5 浏览次数:1
正在浏览:Photoshop制作梦幻的金色花纹
梦幻的花纹非常好看,制作起来也不复杂。过程:先选好花纹素材,用图层样式加上简单的高光和暗部,然后复制图层,适当模糊后就会有梦幻效果。后期控制好颜色,局部再增加一点装饰元素即可。
最终效果

1、打开PhotoShop,新建一个大小600px * 600px的文件,背景填充黑色。新建一个新图层,命名为“云”,不透明度设置40%,用网上下载的云彩笔刷,在图层上涂抹一些云。

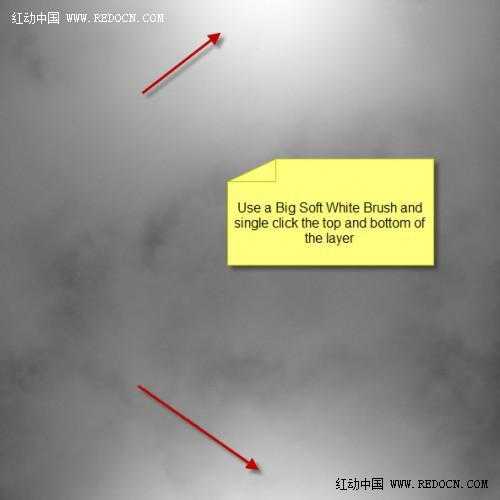
2、新建一个图层,命名为“背景光”,用一个大的白色软刷,在箭头所指位置涂抹,效果如下。
3、新建一个图层,命名为“花卉”,保存下图所示的花纹图片,然后用PS打开,再选择菜单:编辑 > 定义画笔,然后用定义好的画笔绘制图案。


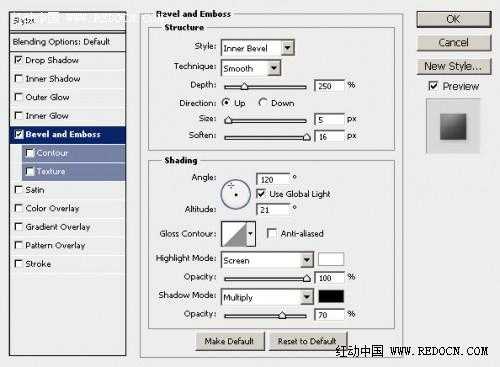
4、双击花卉图层,应用如下图层样式。

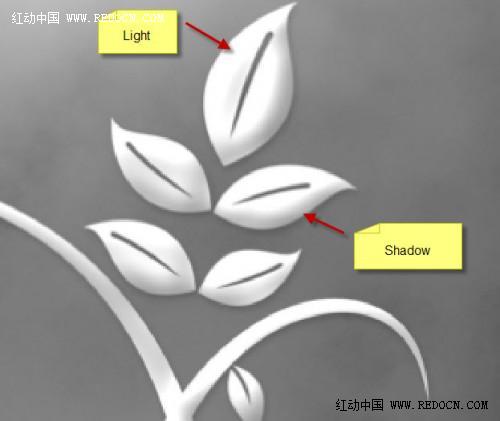
5、现在,为花卉添加一些灯光和阴影。
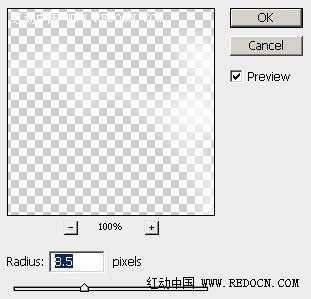
6、为花卉创建一个发光效果。复制一层花卉图层,设置高斯模糊如下。

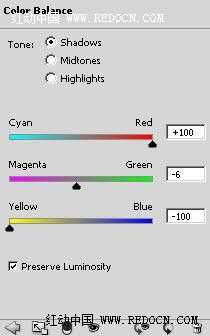
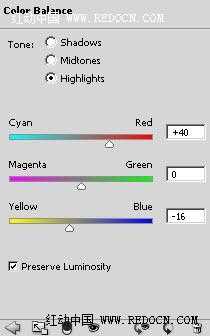
7、新建一个色彩平衡调整图层,设置如下。

上一页12 下一页 阅读全文
最终效果
1、打开PhotoShop,新建一个大小600px * 600px的文件,背景填充黑色。新建一个新图层,命名为“云”,不透明度设置40%,用网上下载的云彩笔刷,在图层上涂抹一些云。
2、新建一个图层,命名为“背景光”,用一个大的白色软刷,在箭头所指位置涂抹,效果如下。
3、新建一个图层,命名为“花卉”,保存下图所示的花纹图片,然后用PS打开,再选择菜单:编辑 > 定义画笔,然后用定义好的画笔绘制图案。
4、双击花卉图层,应用如下图层样式。
5、现在,为花卉添加一些灯光和阴影。
6、为花卉创建一个发光效果。复制一层花卉图层,设置高斯模糊如下。
7、新建一个色彩平衡调整图层,设置如下。
上一页12 下一页 阅读全文