Photoshop设计打造一双蓝色科技感的翅膀
平面设计 发布日期:2026/3/5 浏览次数:1
正在浏览:Photoshop设计打造一双蓝色科技感的翅膀
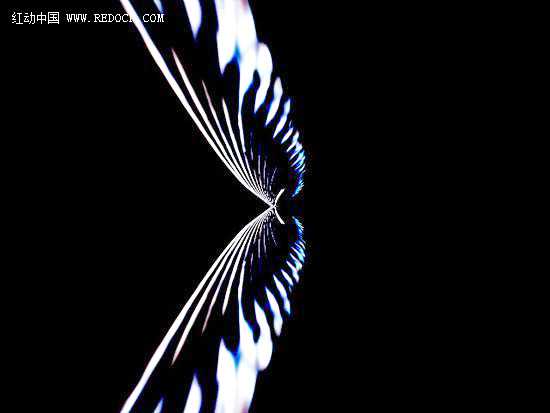
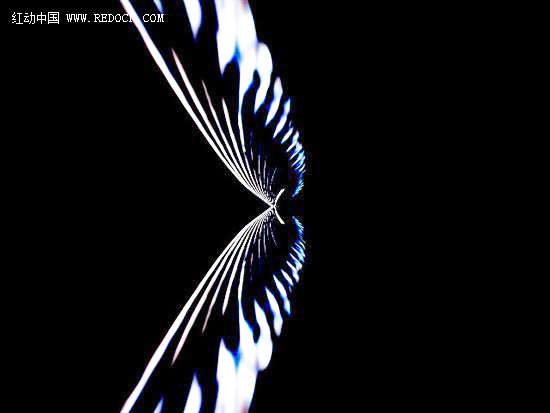
最终效果
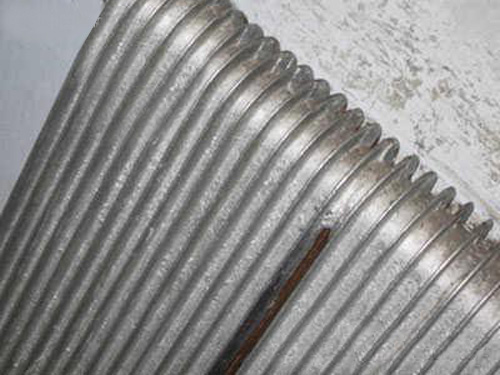
1、打开素材图片。
2、使用“滤镜 - 模糊 - 高斯模糊”命令对图片进行模糊处理,数值为3。

3、使用ctrl + I反相操作。

4、使用ctrl + L进行色阶调整,数值为[145,1.5,160]。

5、转成一般图层后,新建一个空白图层并填充黑色,放在最下面。

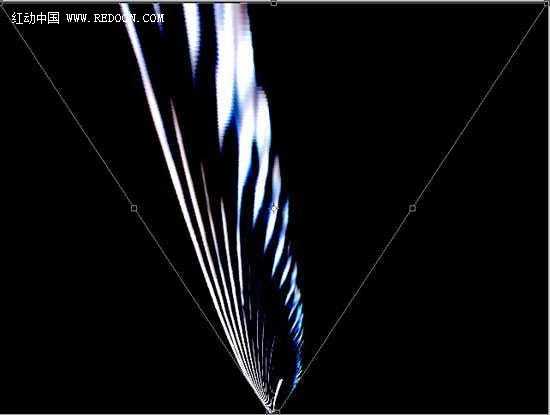
6、使用ctrl + T进行自由变换,使用透视,就是调整一下透明度。
7、复制这个图层,并使用自由变换中的垂直翻转。

8、对齐两个图层,并连接在一起。

9、使用自由变换的缩放功能调整高度。
10、更改图层模式为“滤色”。

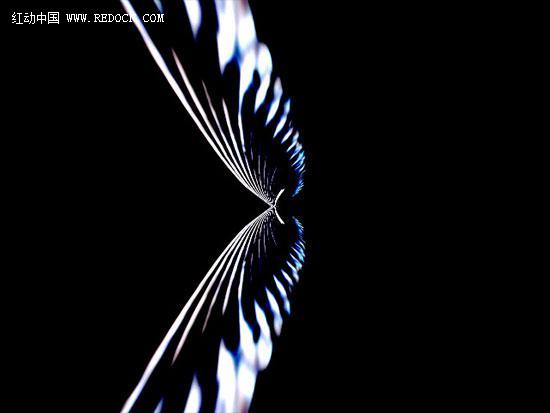
最终效果:
1、打开素材图片。
2、使用“滤镜 - 模糊 - 高斯模糊”命令对图片进行模糊处理,数值为3。
3、使用ctrl + I反相操作。
4、使用ctrl + L进行色阶调整,数值为[145,1.5,160]。
5、转成一般图层后,新建一个空白图层并填充黑色,放在最下面。
6、使用ctrl + T进行自由变换,使用透视,就是调整一下透明度。
7、复制这个图层,并使用自由变换中的垂直翻转。
8、对齐两个图层,并连接在一起。
9、使用自由变换的缩放功能调整高度。
10、更改图层模式为“滤色”。
最终效果: