photoshop打造出透明玻璃球
平面设计 发布日期:2026/3/5 浏览次数:1
正在浏览:photoshop打造出透明玻璃球
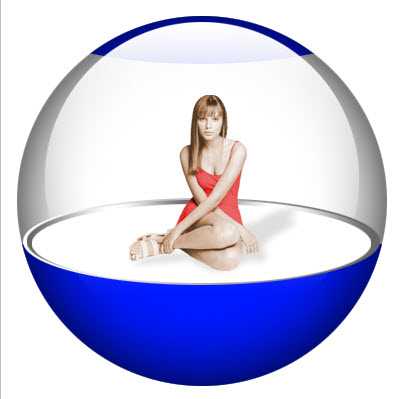
效果图:
2) 创建一个新的图层,并绘制一个圆形选区在选区内填充一种自己喜欢的颜色
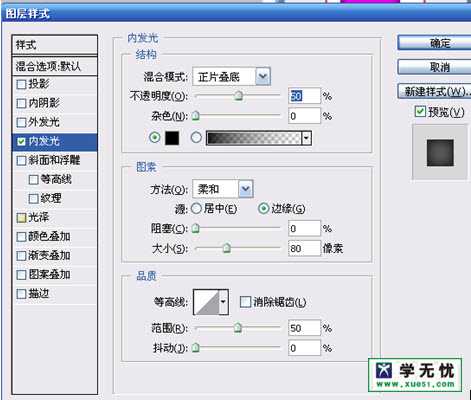
3) 设置此层的图层内发当图层样式:A、混合模式(正片叠底)B、不透明度(50%)C、发光颜色(黑色)D、大小(80px)
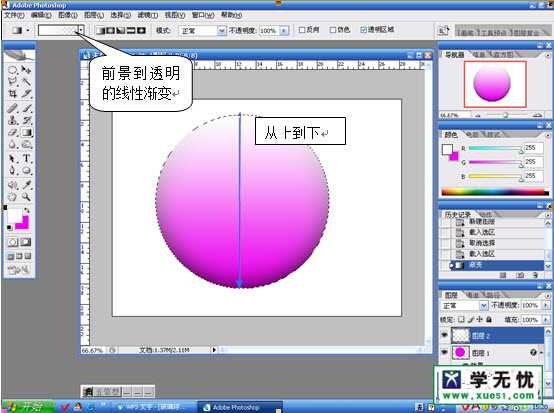
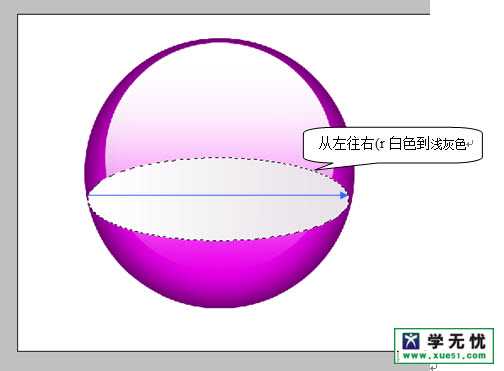
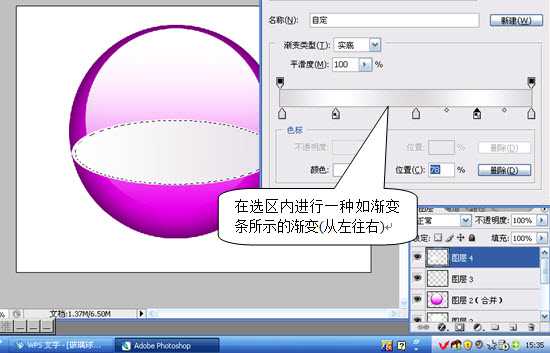
5) 选择渐变工具(从前景到透明)的线性渐变(方向从上至下),再取消选区
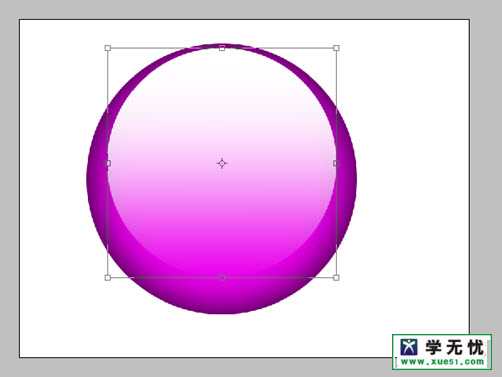
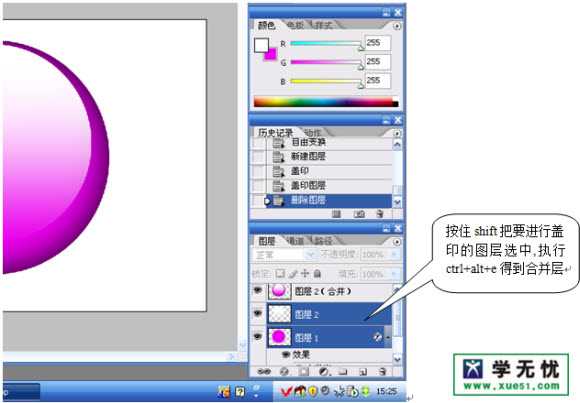
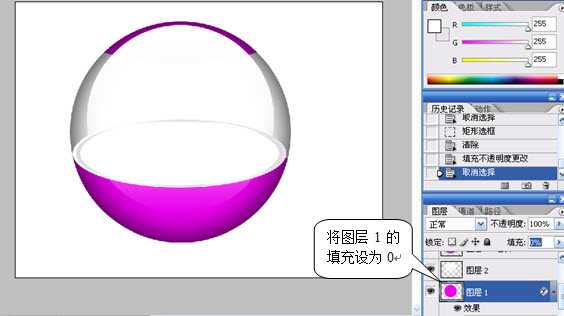
15) 将图层1的填充设为0。如图所示:
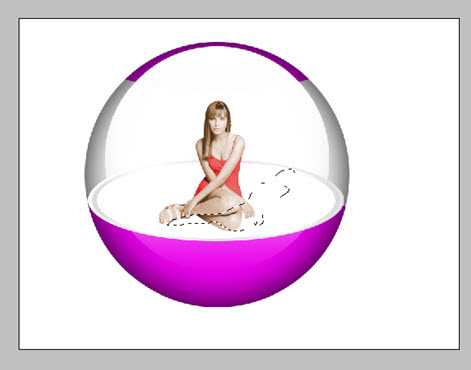

2) 创建一个新的图层,并绘制一个圆形选区在选区内填充一种自己喜欢的颜色
3) 设置此层的图层内发当图层样式:A、混合模式(正片叠底)B、不透明度(50%)C、发光颜色(黑色)D、大小(80px)
5) 选择渐变工具(从前景到透明)的线性渐变(方向从上至下),再取消选区
15) 将图层1的填充设为0。如图所示: