ps重返20岁入门教程
平面设计 发布日期:2026/3/5 浏览次数:1
正在浏览:ps重返20岁入门教程
ps教程重返20岁
教程
方法/步骤
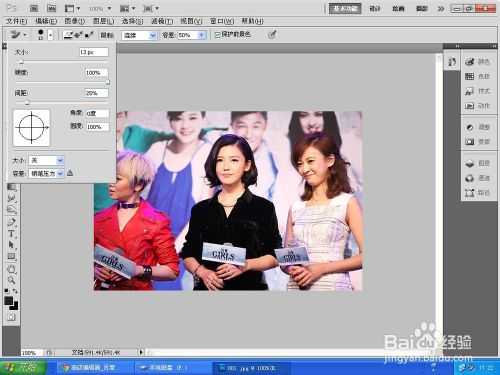
1、在软件中打开一张准备制作的图片。一定要前景与背景区别比较明显的图片。

2、选择背景橡皮擦工具,调节各个参数的数值。进行背景的分离工作。
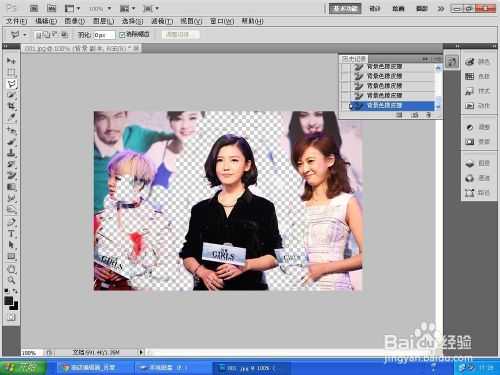
3、不断用背景橡皮擦工具,再加上多边形套索工具,让人物完全从背景里面出来。
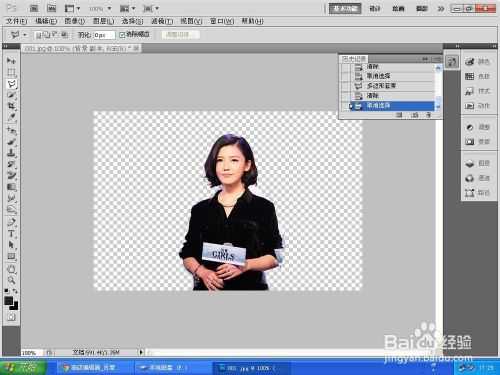
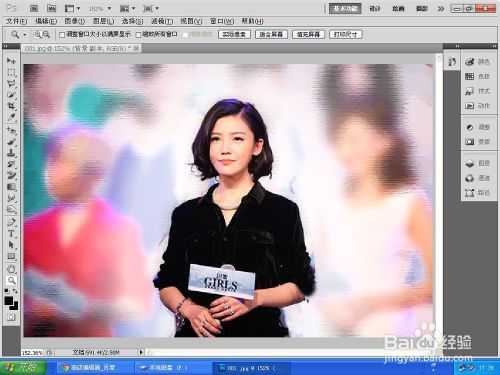
4、通过不断的删除背景,让人物更突出。选择人物后,再进行反选,对于背景进行滤镜的处理。
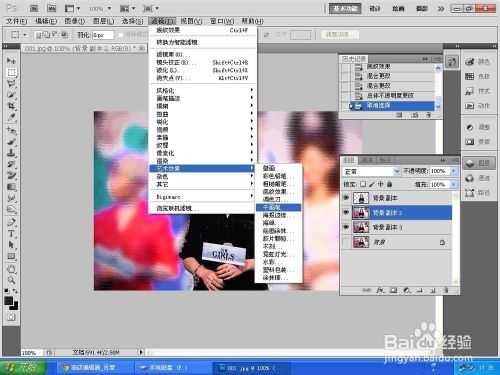
5、把背景多次复制,多次使用艺术效果里面的滤镜,从而形成一种突出人物的效果。
6、运用图层的选项工具,为人物加上一个白色的阴影,再用图章工具,让人物的不完美的细节更完美一些。就形成最后一张图片。
以上就是ps重返20岁入门教程,希望大家喜欢!