ps春晚笑脸哥入门教程
平面设计 发布日期:2026/3/5 浏览次数:1
正在浏览:ps春晚笑脸哥入门教程
ps教程春晚笑脸哥
工具/原料
photoshop
教程
方法/步骤
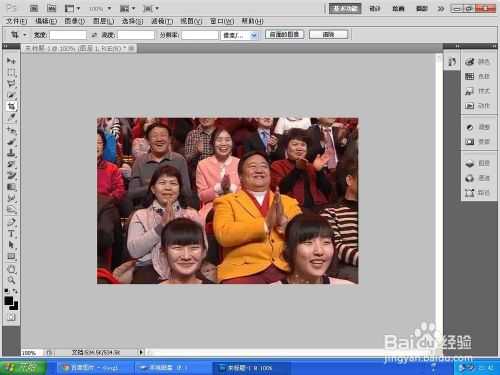
1、在软件中打开一张图片,让其调整到实际的像素。
2、选择多边形套索工具,让选区可以互相叠加,进行一个水滴的制作。
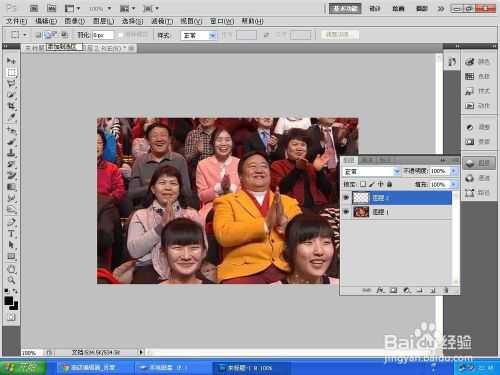
3、让所有的选区平滑一下,再回到背景图层,复制背景的图层再粘贴。

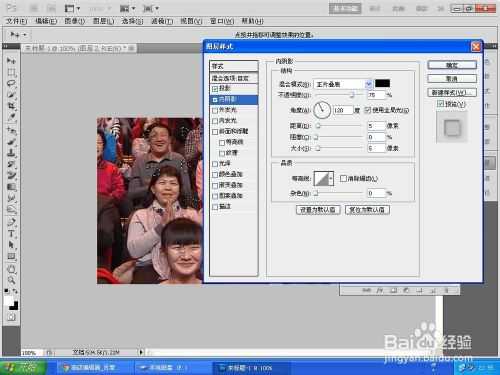
4、通过图层选项做出一个逼真的水滴效果。
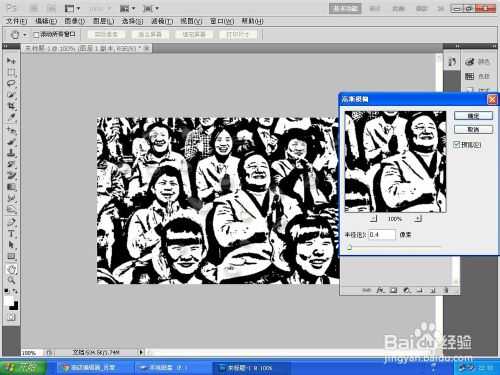
5、通过滤镜的高反差效果,让图片的像素成为高反差的形式,再继续和一下色彩调整里面的阈值,让其成为素描。
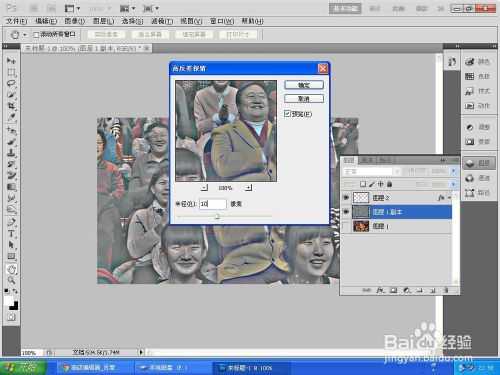
6、让图片成为素描以后,再用一下高斯模糊的滤镜,让其更为柔和一些,模糊的数值要小一点,在百分之零点五就可以了。
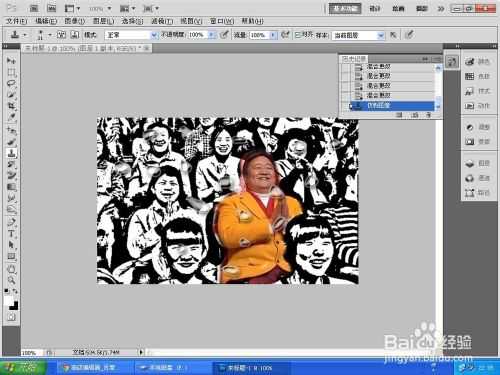
以上就是ps春晚笑脸哥入门教程,希望能对大家有所帮助!