Photoshop打造出舞台的梦幻迷离彩虹背景
平面设计 发布日期:2026/3/5 浏览次数:1
正在浏览:Photoshop打造出舞台的梦幻迷离彩虹背景
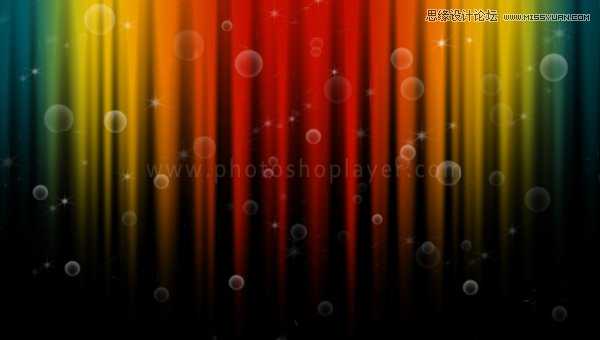
先上效果图:
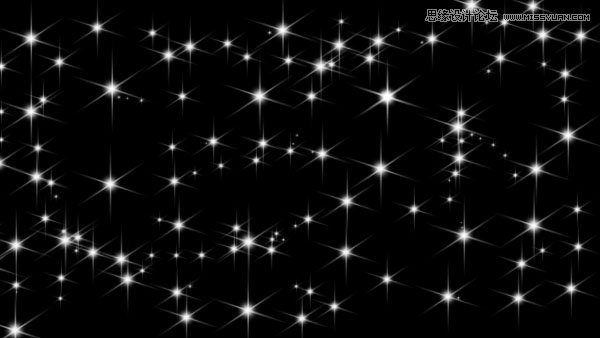
先来渲染一片星空~童鞋们也可以点这里直接下载星空笔刷:微盘下载
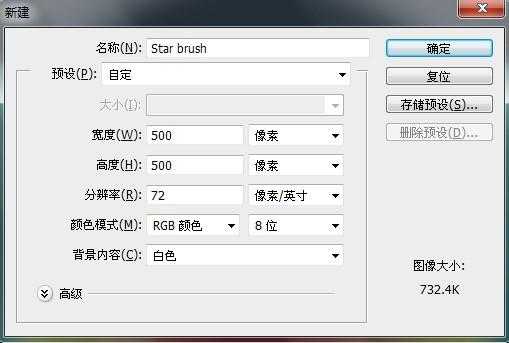
1)打开ps创建如下文件(记住哦,背景是白色的)
2)新建图层,选择画笔工具设置大小为6px 100%的硬边。前景色设为黑色。

3)按住shift键垂直往下作一直线。
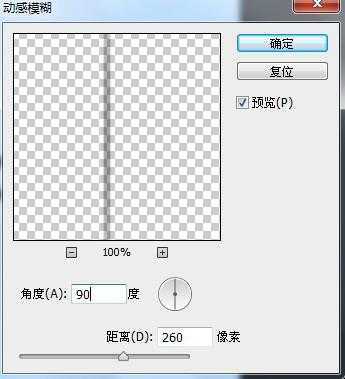
4)选择滤镜>模糊>动感模糊,并进行以下设置:
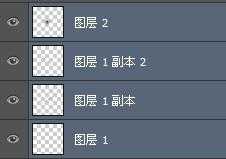
5)复制(ctrl+j)两次该图层。
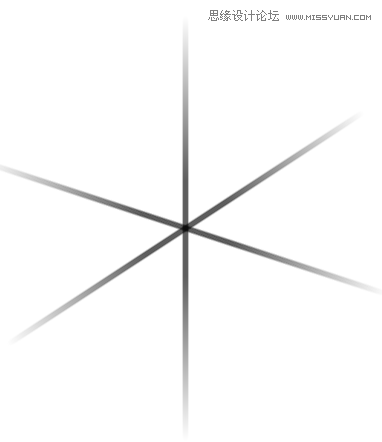
6)分别按下ctrl+t进行旋转变换得到如下形状:
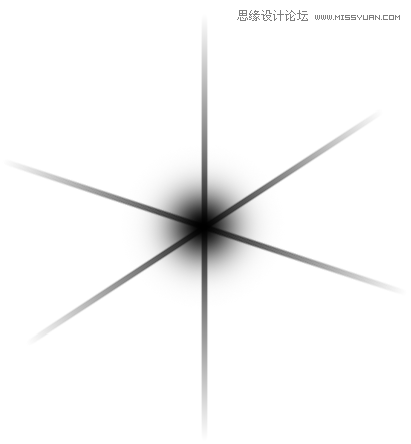
7)新建图层,设置画笔属性如下(100点 0%硬度,前景色设为黑色):

8)在三条线的交汇处正中央点一下~
9)选中所有图层,合并之(CTRL+E)
10)按住ctrl键,鼠标点击合并后的图层选中星星
11)选择编辑→定义画笔预设
12)将该画笔命名为“Star”

这样,我们的星星笔刷就做好了。
再接再厉,接下来咱一起做个泡泡笔刷吧。
效果图先上:
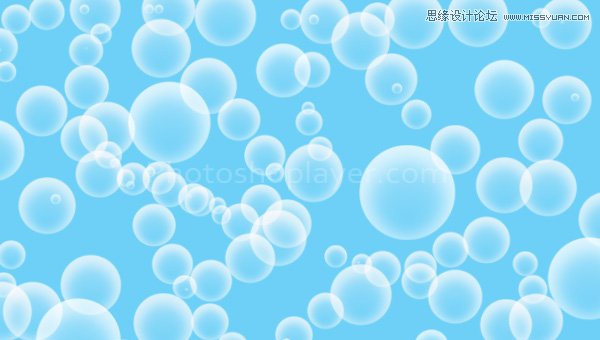
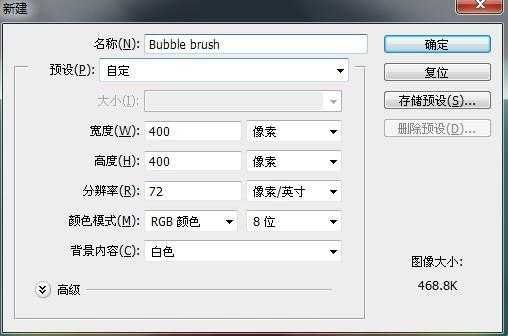
1)新建文件:
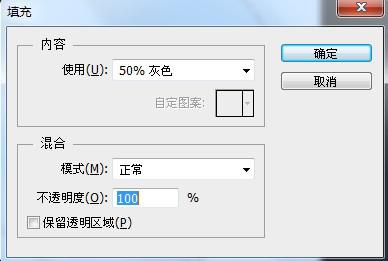
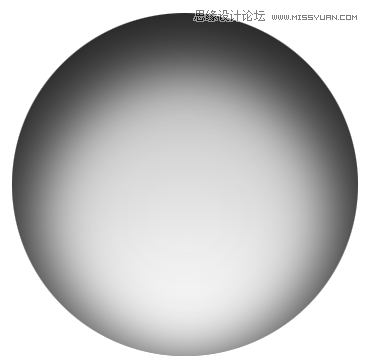
2)新建图层,利用椭圆选框工具按下shift键绘制一个大圆并填充50%的灰色(shift+F5)(不要取消该选框的选择状态)
3)分别设置前景色为白色,背景色为黑色
4)选择渐变工具。在图层上画一条垂直线,圆圈内产生的阴影的效果。

5)双击打开图层混合模式面板作如下设置:
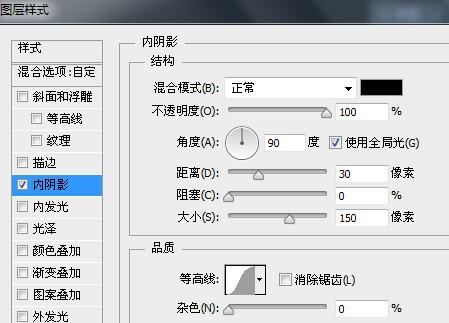
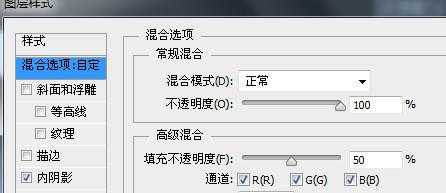
得到如下效果:
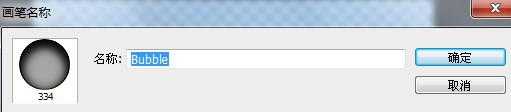
6)选择编辑→定义画笔预设
7)命名该画笔为“Bubble”
至此小功告成。
正题开始。彩虹画布,come on!
1)新建一600*340px的文件。
2)填充背景为黑色。
3)设置前景色为黑色,背景色为白色。(D)
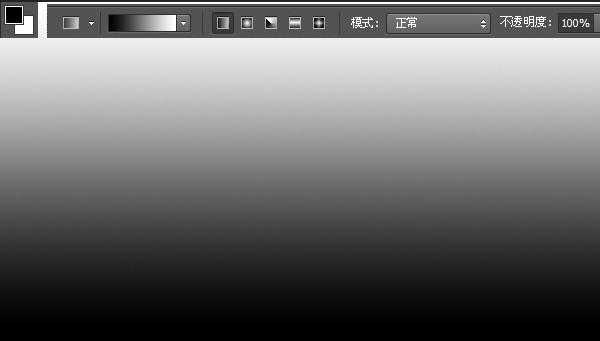
4)选择渐变工具,并修改其设置,如下图所示
5)按住shift键至下而上绘制一条直线。
6)选择滤镜>扭曲>波浪,设置如下属性:
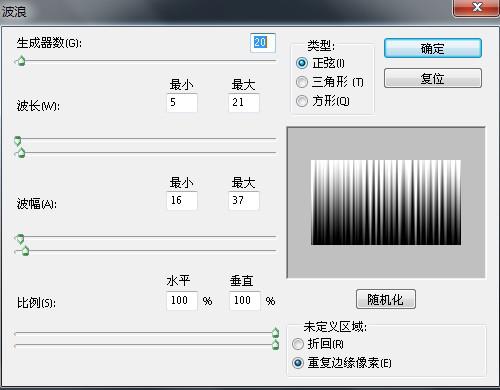
7)按住ALT键,然后点击“添加矢量蒙版“
8)设置前景色和背景色分别为白色和黑色。
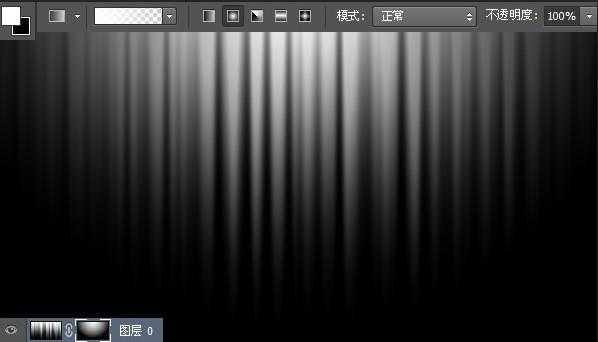
9)选渐变工具,并修改其设置,如下图所示:
10)至上而下绘制渐变:
11)新建图层。
12)给该图层填充50%灰色(#959595)。图层重新命名为 “彩虹”。

13)双击图层打开混合选项面板,设置如下样式。
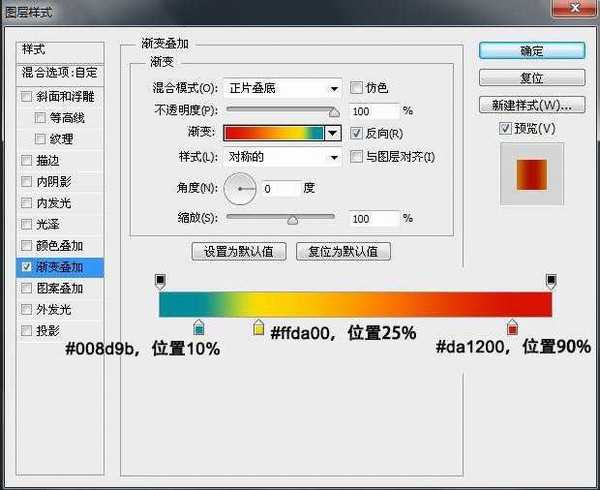
14)改变该图层的叠加方式为“叠加”。
15)分别设置前景色和背景色为白色和黑色。
16)选择画笔工具,点击右上角设置图标→载入画笔。
17)选择我们上面所创建的“Star”笔刷载入,按下F5打开画笔预设面板设置该画笔的属性。
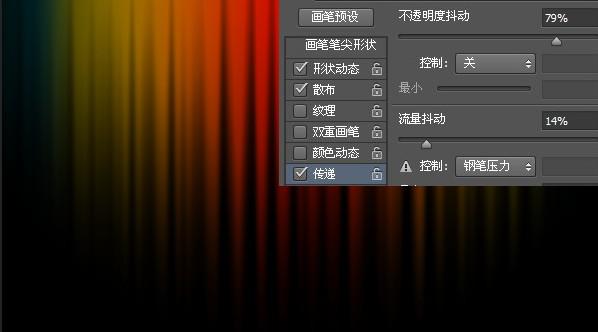
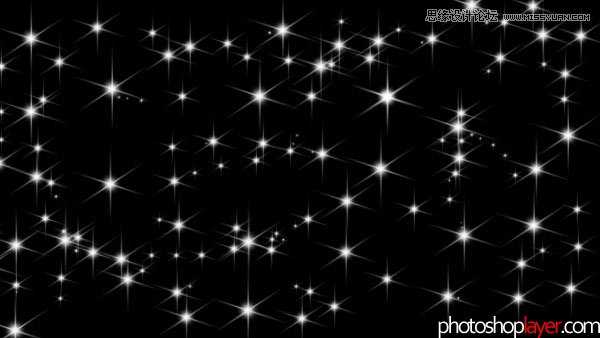
18)新建图层,使用我们刚才设置好的笔刷按照你想要的效果画出星星~
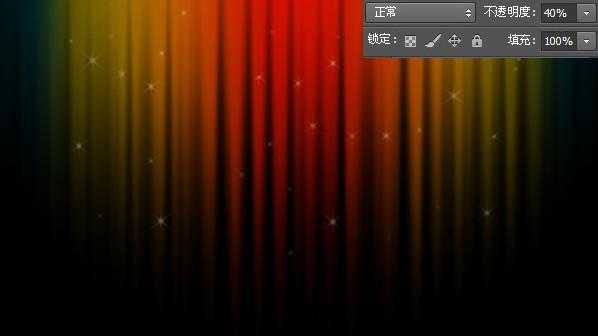
19)改变当前层的图层不透明度为40%(或者更低看你心情~)。
20)新建图层。
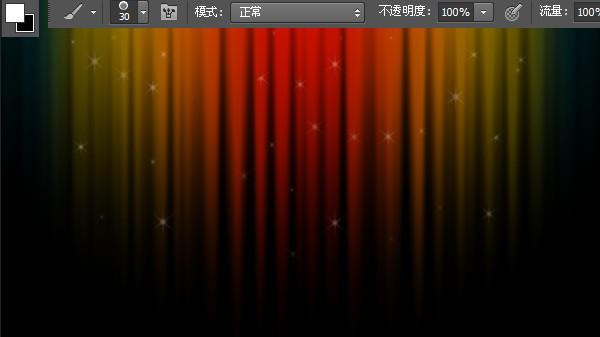
21)套用刚才的画笔设置,但这个时候保持当前图层的图层不透明度为100%。
22)使用橡皮擦工具休整一下你的星星,使之看起来舒服。
23)新建图层。
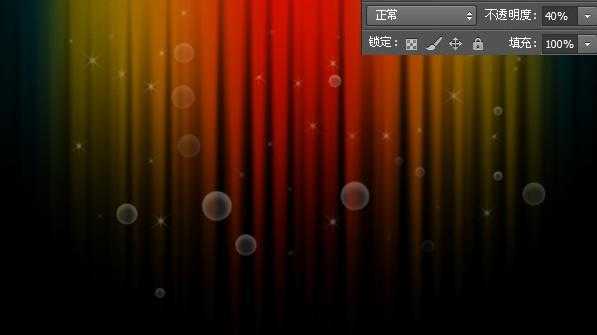
24)载入另一个画笔——”Bubble“。这个画笔的设置和上面星星画笔的设置一样。
25)在这新建的图层上绘制泡泡吧~
26)同样的,改变当前层的图层不透明度为40%(或者更低看你心情~)。
27)嗯哼,和前面一样,创建新图层,图层不透明度为100%,再画一些泡泡上去,使用橡皮擦工具修饰一下就可以啦~
以下是我学习的最终成果~

先来渲染一片星空~童鞋们也可以点这里直接下载星空笔刷:微盘下载
1)打开ps创建如下文件(记住哦,背景是白色的)
2)新建图层,选择画笔工具设置大小为6px 100%的硬边。前景色设为黑色。
3)按住shift键垂直往下作一直线。
4)选择滤镜>模糊>动感模糊,并进行以下设置:
5)复制(ctrl+j)两次该图层。
6)分别按下ctrl+t进行旋转变换得到如下形状:
7)新建图层,设置画笔属性如下(100点 0%硬度,前景色设为黑色):
8)在三条线的交汇处正中央点一下~
9)选中所有图层,合并之(CTRL+E)
10)按住ctrl键,鼠标点击合并后的图层选中星星
11)选择编辑→定义画笔预设
12)将该画笔命名为“Star”
这样,我们的星星笔刷就做好了。
再接再厉,接下来咱一起做个泡泡笔刷吧。
效果图先上:
1)新建文件:
2)新建图层,利用椭圆选框工具按下shift键绘制一个大圆并填充50%的灰色(shift+F5)(不要取消该选框的选择状态)
3)分别设置前景色为白色,背景色为黑色
4)选择渐变工具。在图层上画一条垂直线,圆圈内产生的阴影的效果。
5)双击打开图层混合模式面板作如下设置:
得到如下效果:
6)选择编辑→定义画笔预设
7)命名该画笔为“Bubble”
至此小功告成。
正题开始。彩虹画布,come on!
1)新建一600*340px的文件。
2)填充背景为黑色。
3)设置前景色为黑色,背景色为白色。(D)
4)选择渐变工具,并修改其设置,如下图所示
5)按住shift键至下而上绘制一条直线。
6)选择滤镜>扭曲>波浪,设置如下属性:
7)按住ALT键,然后点击“添加矢量蒙版“
8)设置前景色和背景色分别为白色和黑色。
9)选渐变工具,并修改其设置,如下图所示:
10)至上而下绘制渐变:
11)新建图层。
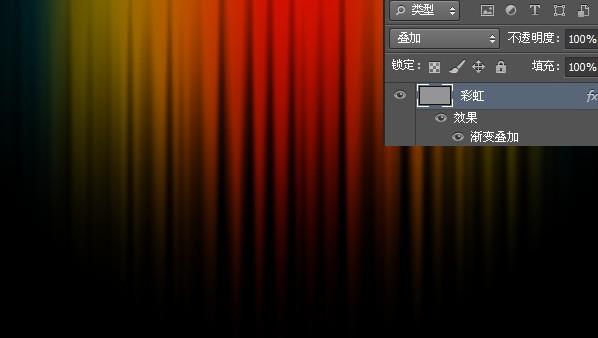
12)给该图层填充50%灰色(#959595)。图层重新命名为 “彩虹”。
13)双击图层打开混合选项面板,设置如下样式。
14)改变该图层的叠加方式为“叠加”。
15)分别设置前景色和背景色为白色和黑色。
16)选择画笔工具,点击右上角设置图标→载入画笔。
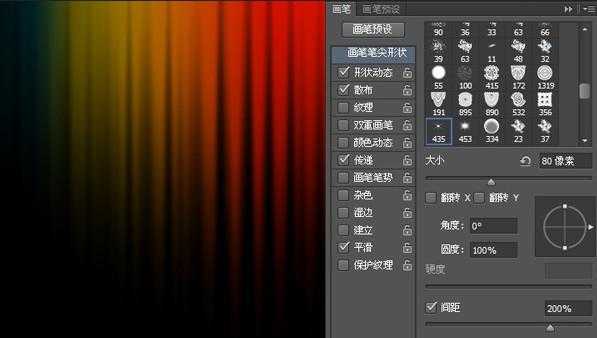
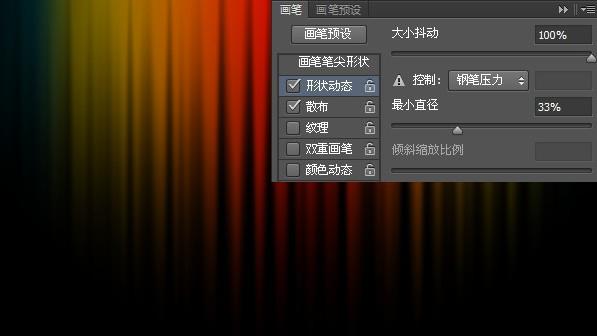
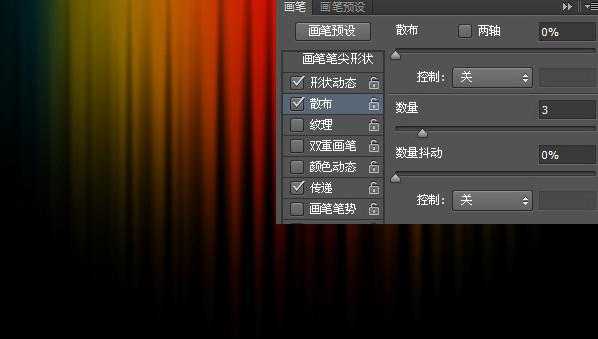
17)选择我们上面所创建的“Star”笔刷载入,按下F5打开画笔预设面板设置该画笔的属性。
18)新建图层,使用我们刚才设置好的笔刷按照你想要的效果画出星星~
19)改变当前层的图层不透明度为40%(或者更低看你心情~)。
20)新建图层。
21)套用刚才的画笔设置,但这个时候保持当前图层的图层不透明度为100%。
22)使用橡皮擦工具休整一下你的星星,使之看起来舒服。
23)新建图层。
24)载入另一个画笔——”Bubble“。这个画笔的设置和上面星星画笔的设置一样。
25)在这新建的图层上绘制泡泡吧~
26)同样的,改变当前层的图层不透明度为40%(或者更低看你心情~)。
27)嗯哼,和前面一样,创建新图层,图层不透明度为100%,再画一些泡泡上去,使用橡皮擦工具修饰一下就可以啦~
以下是我学习的最终成果~