Photoshop 漂亮的黄金沙漏制作方法
平面设计 发布日期:2026/3/6 浏览次数:1
正在浏览:Photoshop 漂亮的黄金沙漏制作方法
最终效果

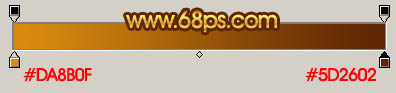
1、新建一个1024 * 768像素的文件,选择渐变工具,颜色设置如图1,拉出图2所示的径向渐变。
<图1>

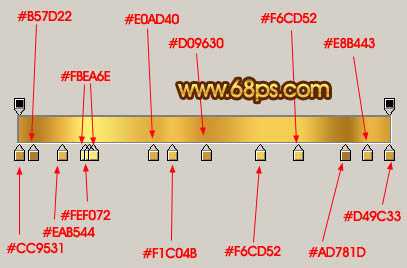
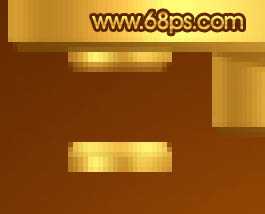
<图2> 2、新建一个图层,用矩形选框工具拉出图3所示的选区,选择渐变工具,颜色设置如图4,拉出图5所示的线性渐变。

<图3>
<图4>

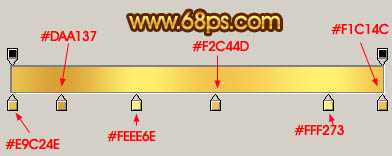
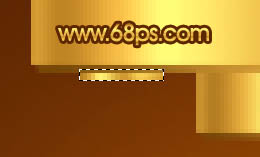
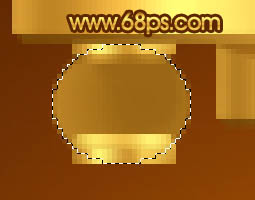
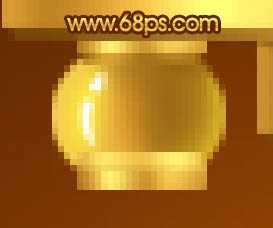
<图5> 3、新建一个图层,钢笔勾出图6所示的选区,拉上图7所示的渐变色,效果如图8。

<图6>
<图7>

<图8>
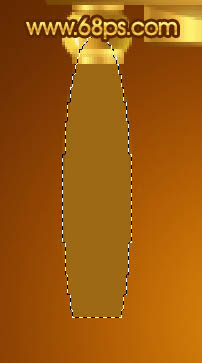
4、新建一个图层,钢笔勾出图9所示的选区,拉上图10所示的渐变色,效果如图11。

<图9>

<图10>

<图11> 5、新建一个图层,同样的做出图12所示的渐变图形。

<图12>
6、左侧较少的渐变色块的制作方法同上。制作的时候最好新建一个图层。
<图13>
<图14>
7、在背景图层上面新建一个图层,用椭圆选框工具拉出图15所示的椭圆选区,拉上渐变色后,再加上暗调和高光,效果如图16。
<图15>
<图16> 8、在背景图层上面新建一个图层,用椭圆选框工具拉出图17所示的椭圆选区,下面一截可以用矩形选框工具截去,然后填充颜色:#9D6915,效果如下图。
<图17> 上一页12 下一页 阅读全文
1、新建一个1024 * 768像素的文件,选择渐变工具,颜色设置如图1,拉出图2所示的径向渐变。
<图1>
<图2> 2、新建一个图层,用矩形选框工具拉出图3所示的选区,选择渐变工具,颜色设置如图4,拉出图5所示的线性渐变。
<图3>
<图4>
<图5> 3、新建一个图层,钢笔勾出图6所示的选区,拉上图7所示的渐变色,效果如图8。
<图6>
<图7>
<图8>
4、新建一个图层,钢笔勾出图9所示的选区,拉上图10所示的渐变色,效果如图11。
<图9>
<图10>
<图11> 5、新建一个图层,同样的做出图12所示的渐变图形。
<图12>
6、左侧较少的渐变色块的制作方法同上。制作的时候最好新建一个图层。
<图13>
<图14>
7、在背景图层上面新建一个图层,用椭圆选框工具拉出图15所示的椭圆选区,拉上渐变色后,再加上暗调和高光,效果如图16。
<图15>
<图16> 8、在背景图层上面新建一个图层,用椭圆选框工具拉出图17所示的椭圆选区,下面一截可以用矩形选框工具截去,然后填充颜色:#9D6915,效果如下图。
<图17> 上一页12 下一页 阅读全文